More Film manipulation and Projections
After being introduced to such a variety of softwares, materials and methods I realised I was probably most drawn to the film manipulation and projection. And so I wanted to do some further experimentation but with a certain aim in mind. I wanted to be as minimalistic as possible when it comes to using materials to manipulate this film. I didn’t want to use any colourful markers, washi tape and etc, but rather concentrate on manipulating it without adding too many material, such as trying to strip down some of the gelatin emulsion or cutting up the strip and rearranging it to the same shape.
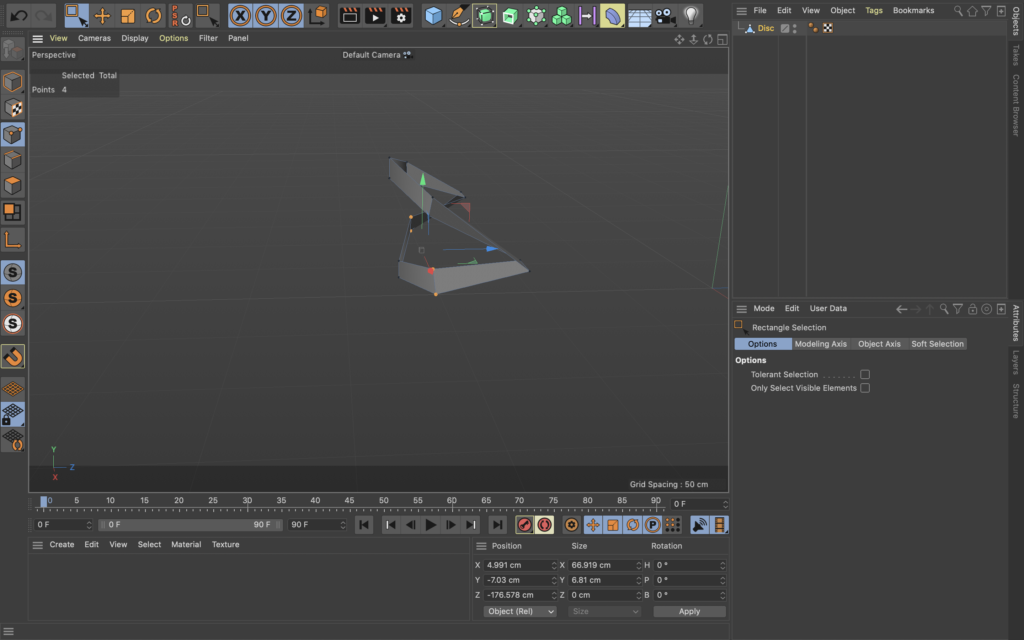
After creating some strips and piecing them all together I realised that projecting a long strip of film is rather tricky and so I had to separate it into shorter strips and also use a DSLR as my phone simply did not agree with the light and frame rate and the quality of the image was not very good. Below are the 3 separate film strips which I created and digitised for further use.
I was very excited to see how these had come out as it was very difficult to create these spirally circular movements by scratching onto the film with a knife. My aim was to create repetition in movement and a development from one straight line into many which are curving and overlapping and etc. I also wanted to try entrapping the material which i had scraped off of the strip, back onto a fully clear strip. By doing this my aim was to reintroduce something that is usually thrown away and what might be considered useless material in order to create some beautiful images.
This video has a combination of previous footage I had manipulated and decided to make some adjustments to and new footage which is the distorted countdown. It is how some old movies might have began, with a countdown and I wanted to distort these simple shapes and numbers. What I did to achieve that was cut the strip in half with a wavy (not straight) line and turn one of the piece upside down so they’re not only separate and inn different perspectives but also overlapping in some instances.
Unlike Film 1’s experiments, Film 3 accomplished the wanted circular movements by actually adding white paint onto a transparent film with a brush and using the end of that brush to remove some of that paint and let some light to come through the spiral shape created.
These textures were inspired by Henry Moore’s Tube Shelter Perspective drawings.
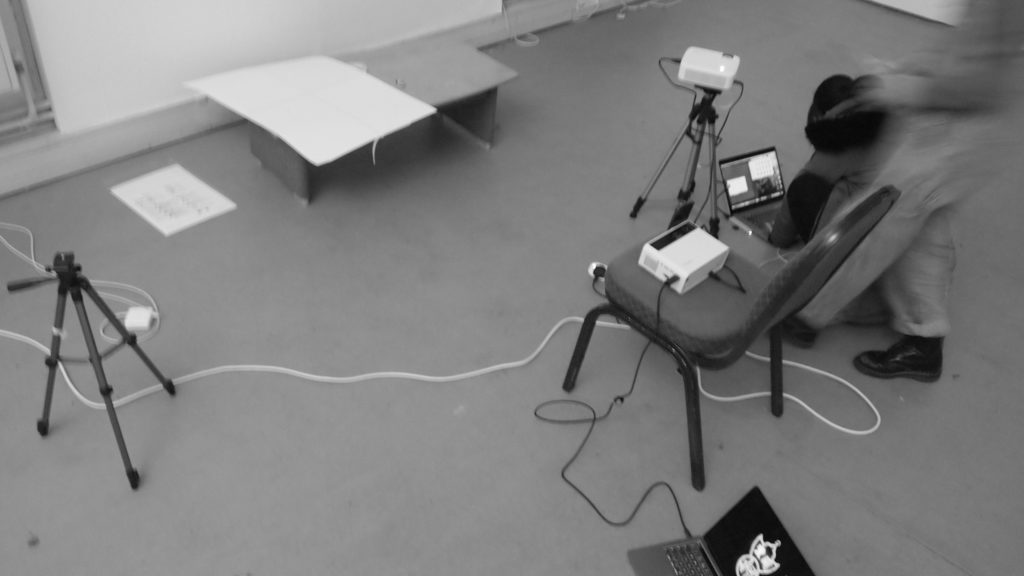
More Mapping Experimentations
The above experiments are using the software MadMapper however after some further film projection experiments and some editing in premiere pro, I decided to make a projection mapping manually.
I used a video which is in its developing stages for the Expanded Art Forms exhibition within the Sound and Image Festival . The steps of the process for manually mapping projections using aftereffects can be seen below.

3. ADD VIDEO YOU WANT TO MAP INTO AFTER EFFECT
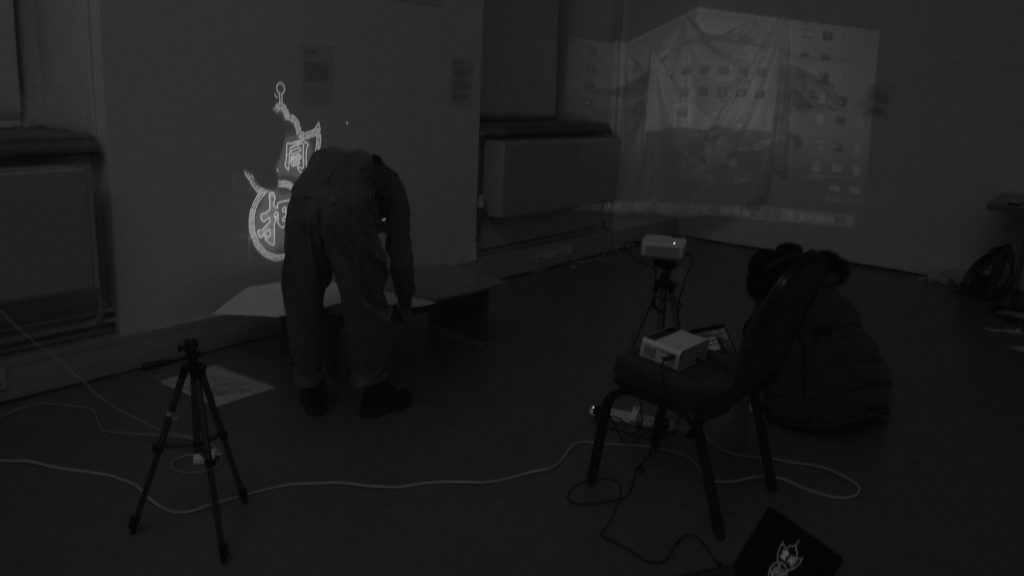
The concept of the video I am projecting in the given photographs started with aiming to visualise the state of panic. Combining physical vigorous circular scratching movements onto film and projecting them, later layering them with digital footage of the foot tunnel in greenwich which was used as shelter during The Blitz at WWII.
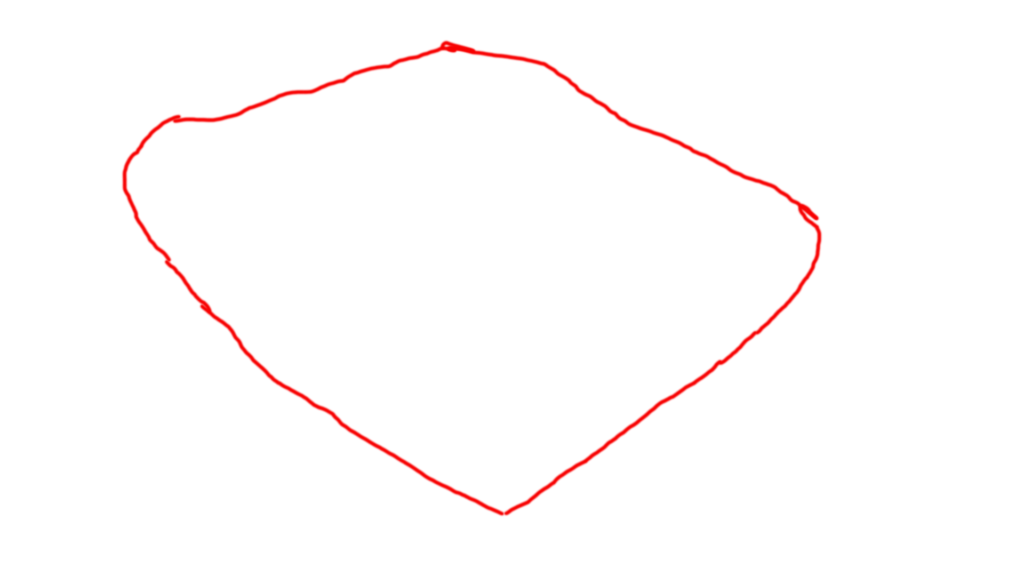
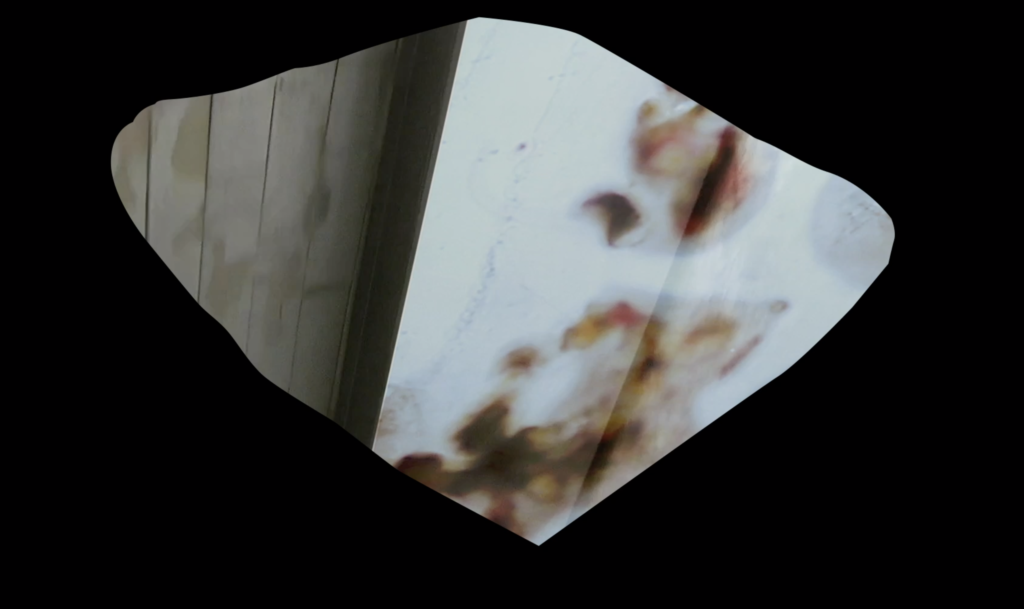
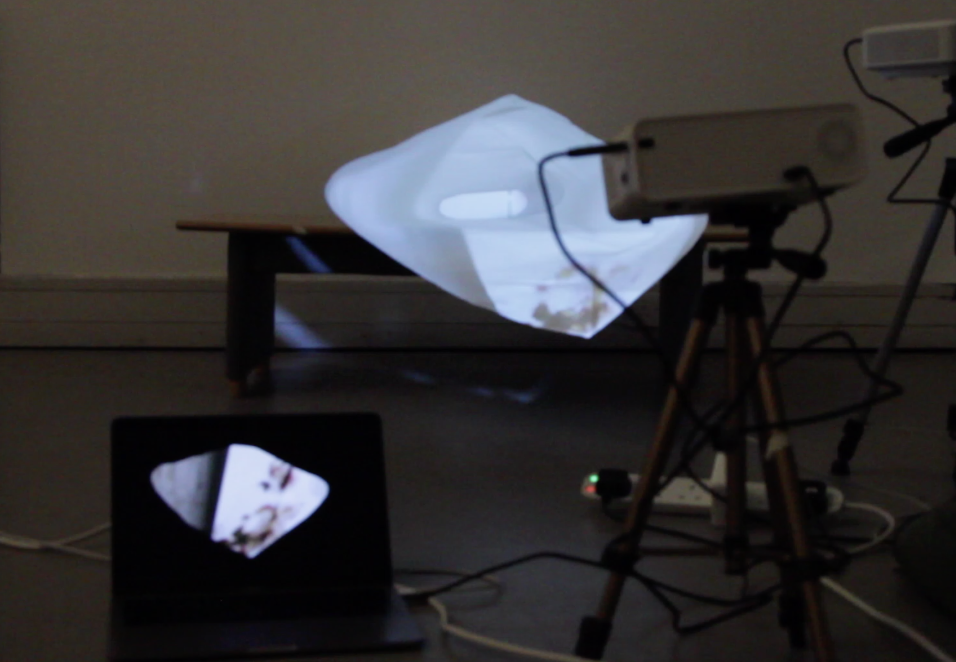
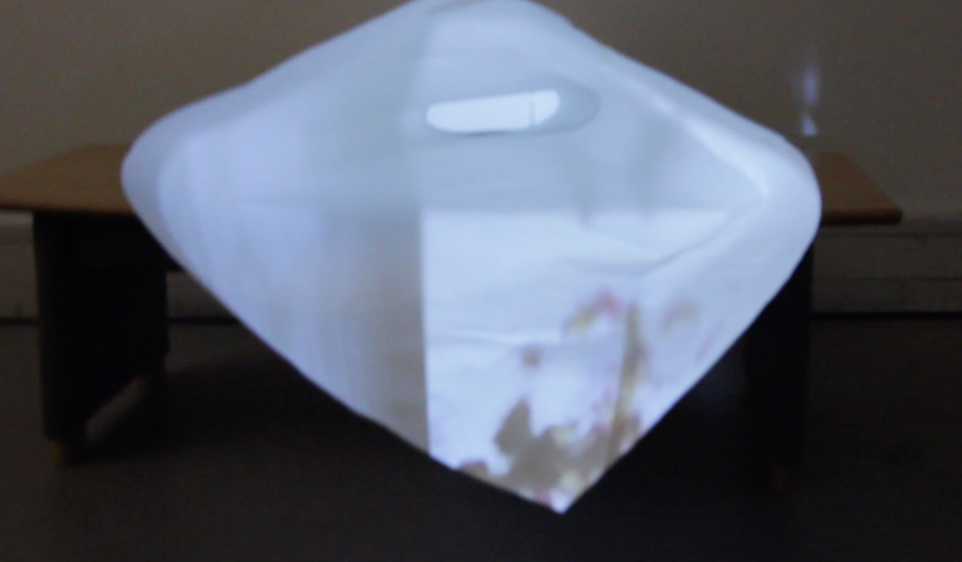
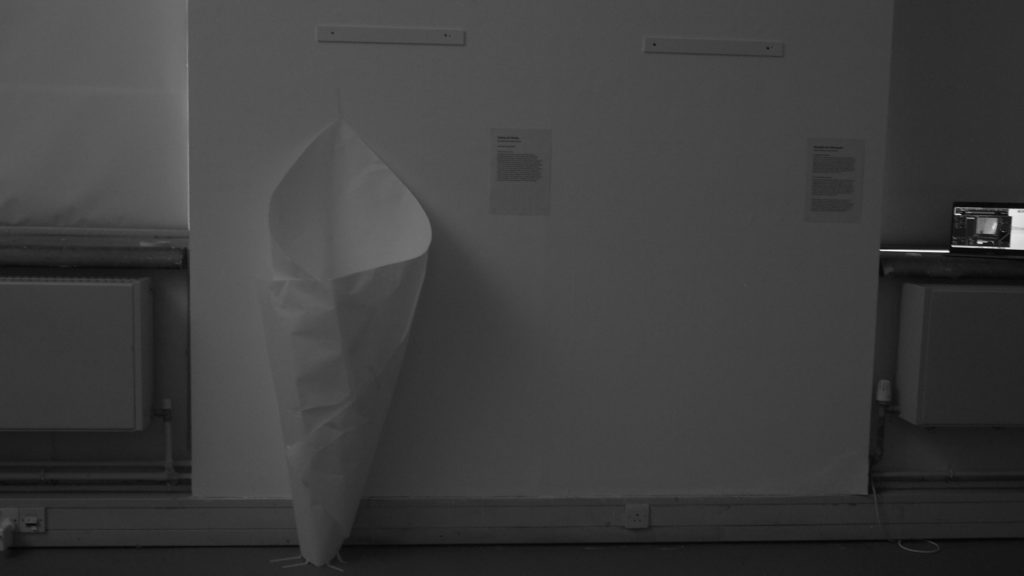
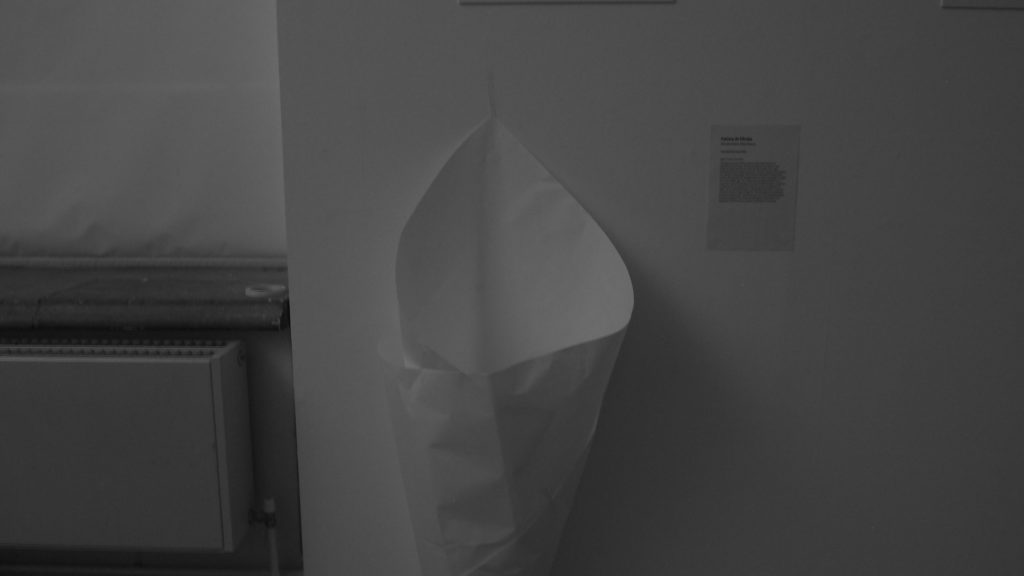
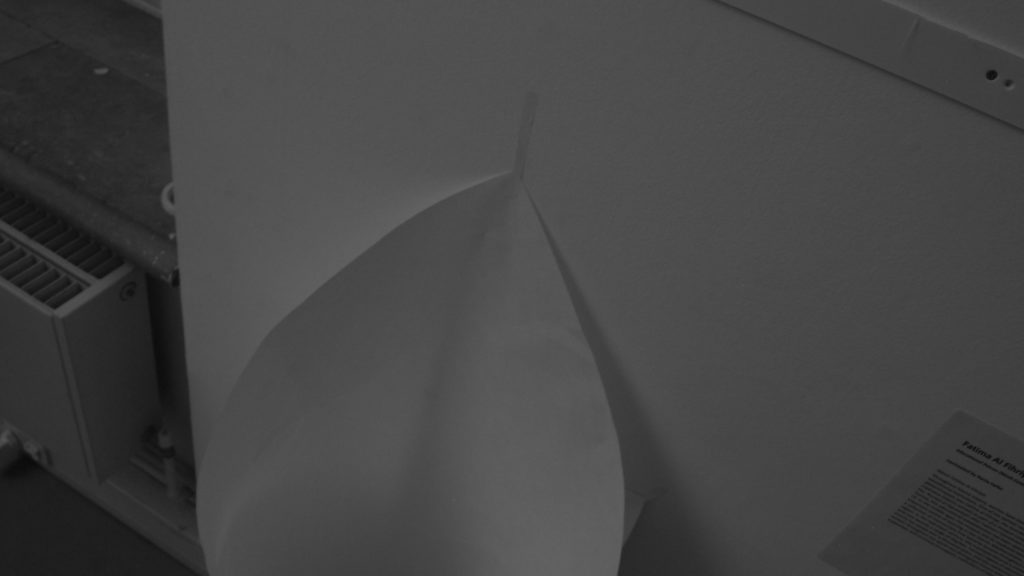
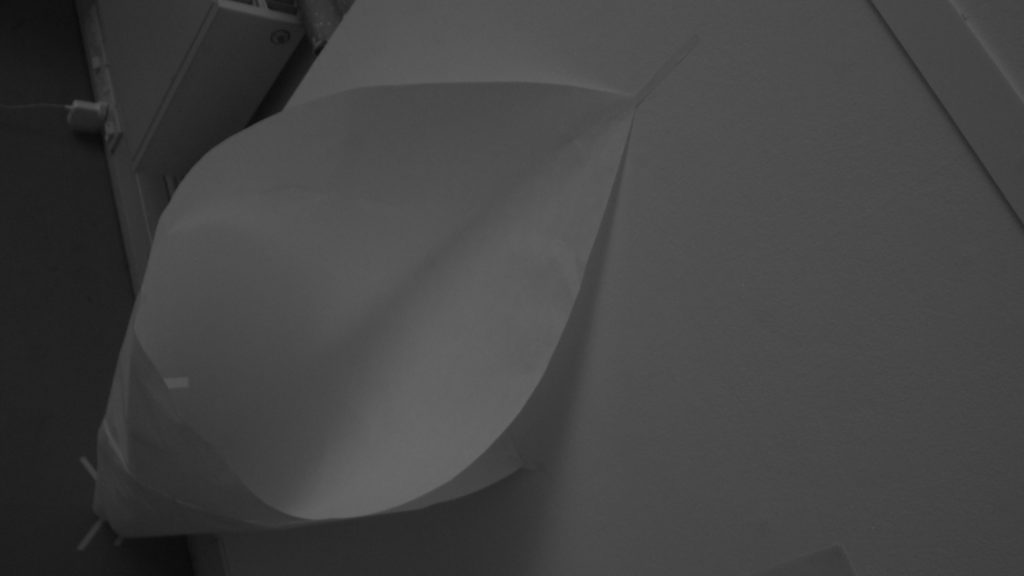
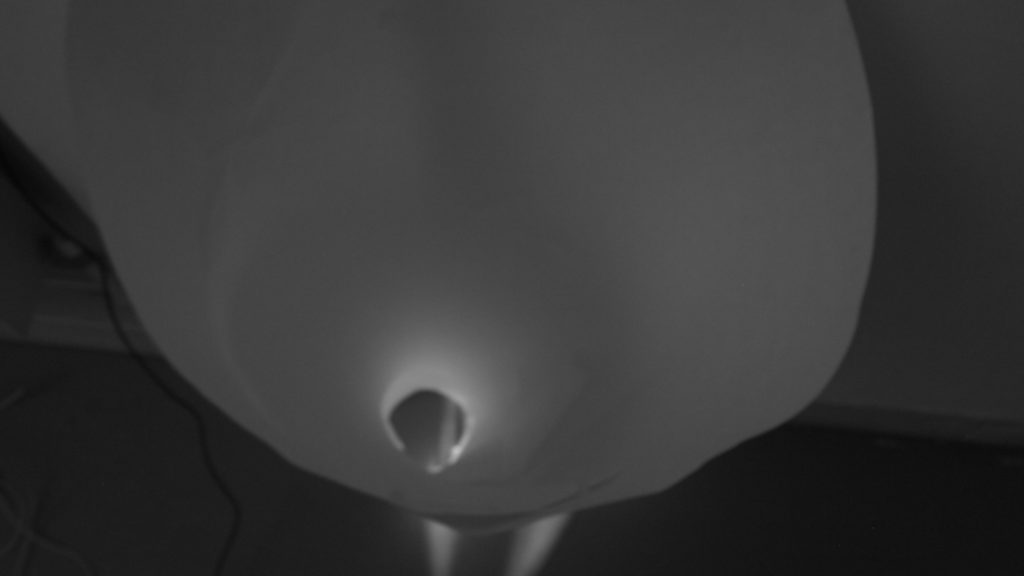
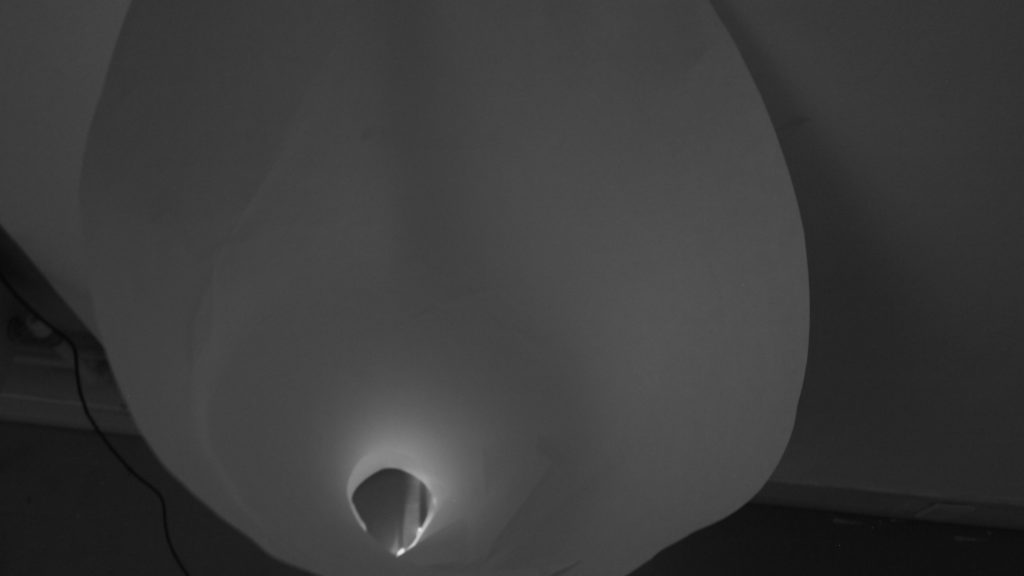
I aimed to create a tunnel like sculpture as I wanted to enforce the idea of a claustrophobic and confined space but also simply experiment with projecting on unusual shapes.
As seen in the photos above I made the “sculpture” for this experiment using a large piece of paper, however it didn’t work as well as it could have. I am now considering possibly using clay instead and painting it white to accomplish a more crisp image.
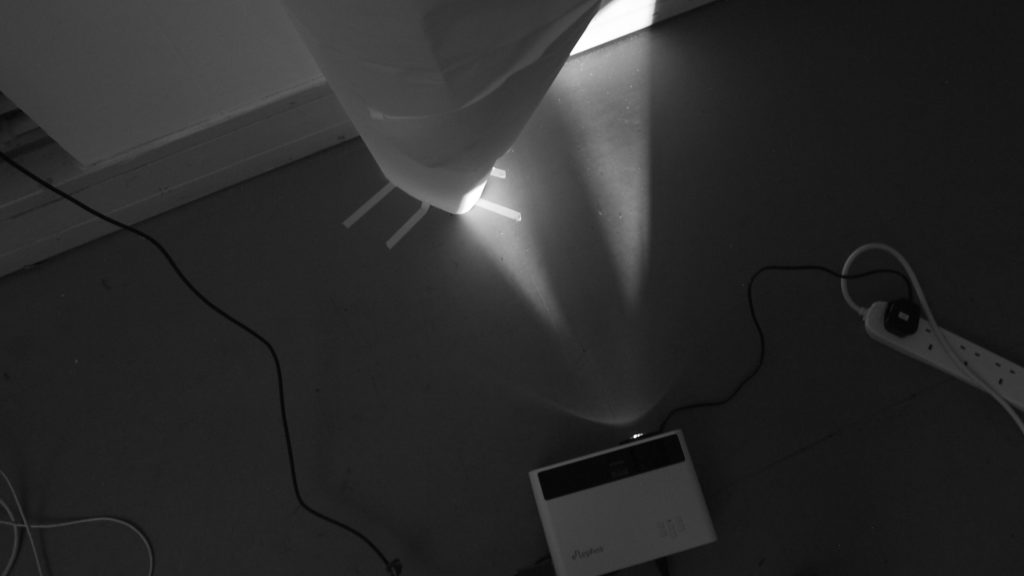
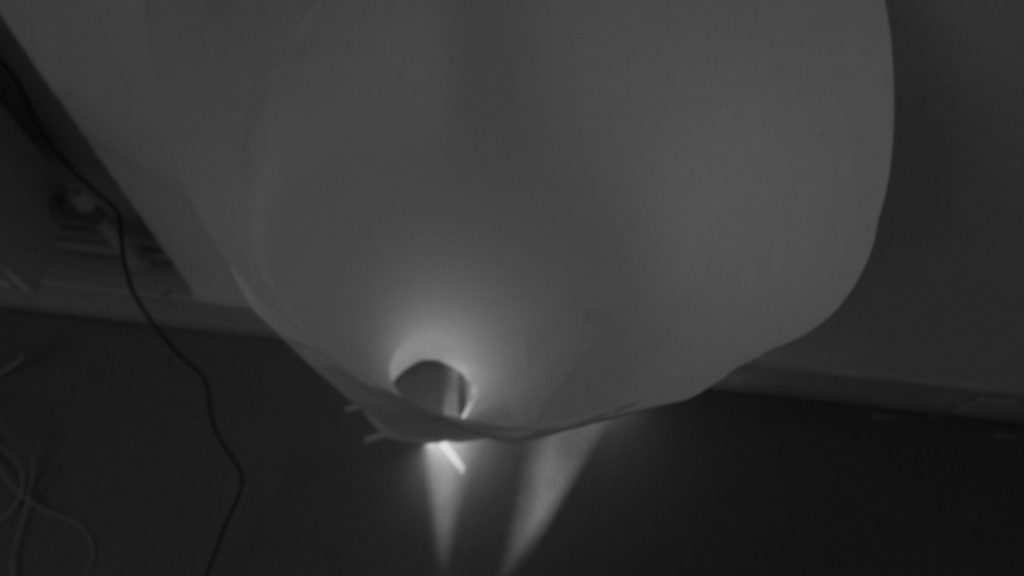
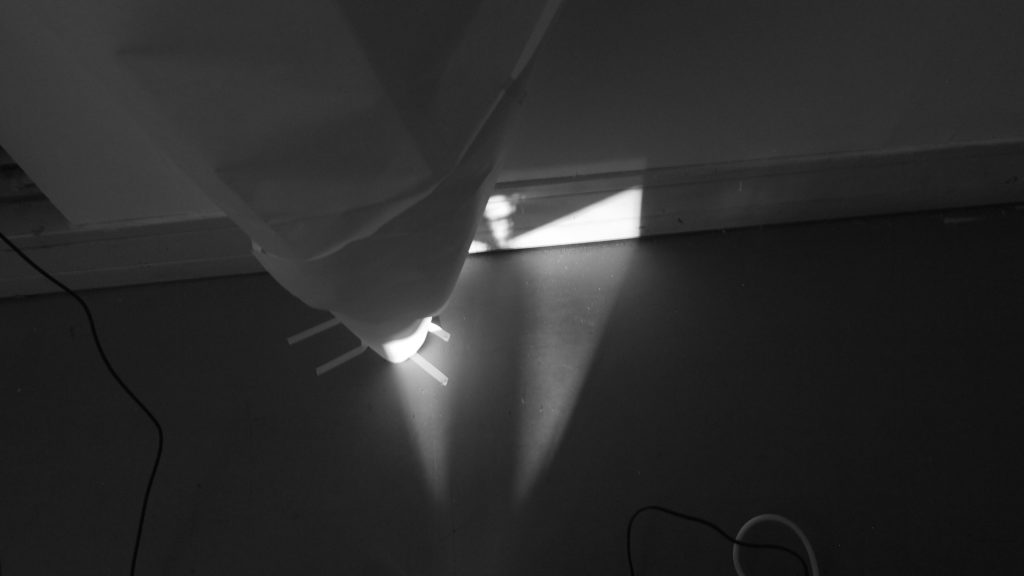
After the projection experimentation I have to consider if I should stray away from the projection idea overall because it would be rather difficult to get the right lighting in the gallery space we have.
Another mistake was mapping the video in such a way where most of the textures of the projection gets lost. Some because of the positioning and other possibly because of the depth that the projection requires and possibly low quality of the projector, maybe another one would have better capabilities?
After establishing the light issue and the fact that projecting into the depth of a sculpture might not be the best way of exposing the textures which appear in the film I have decided to have a back up plan of simply having the video on a flat screen.
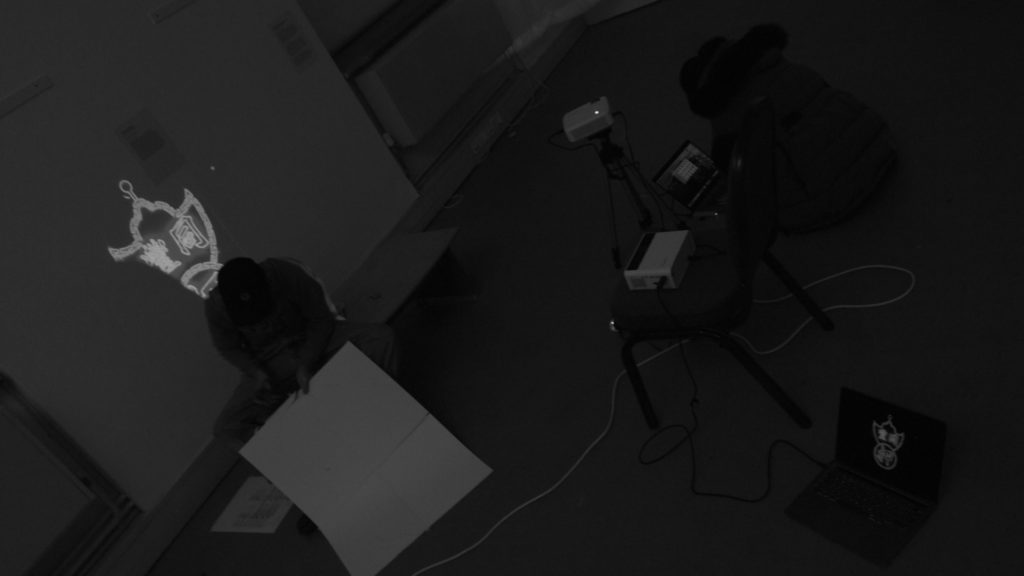
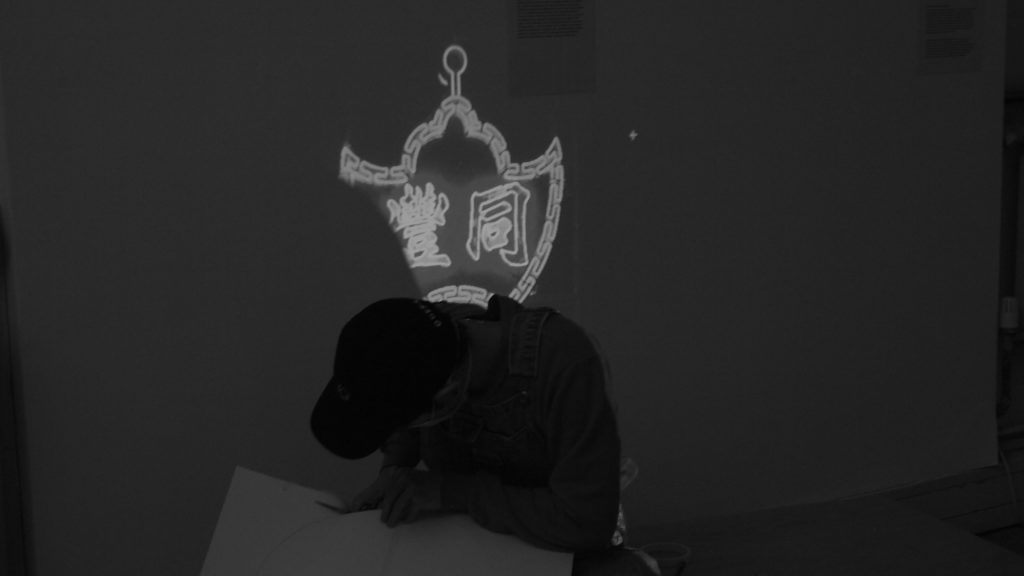
Making the shape and projecting into it from different angles and it being in different positions and locations within the gallery.
Making the shape and projecting into it from different angles and it being in different positions and locations within the gallery.
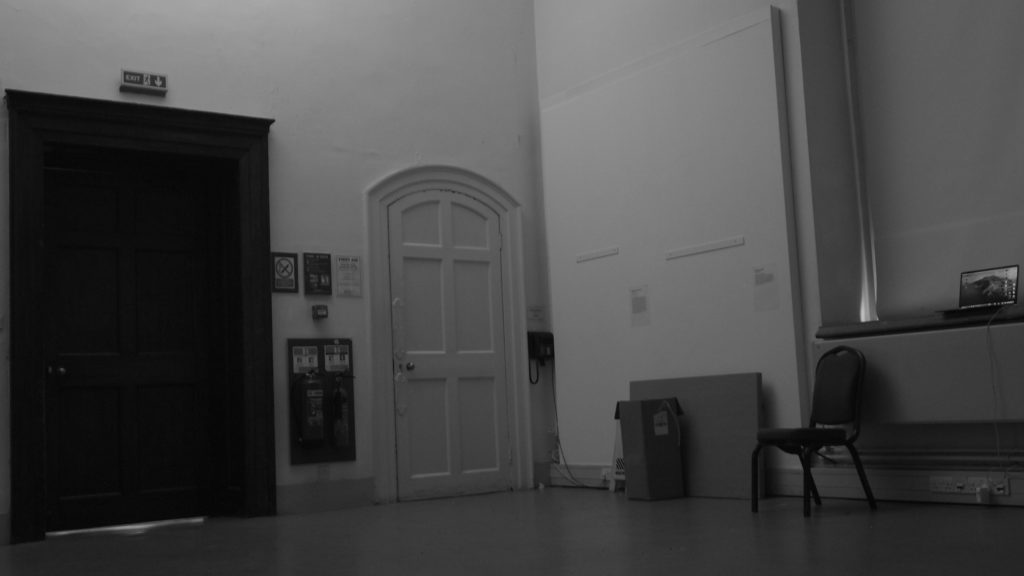
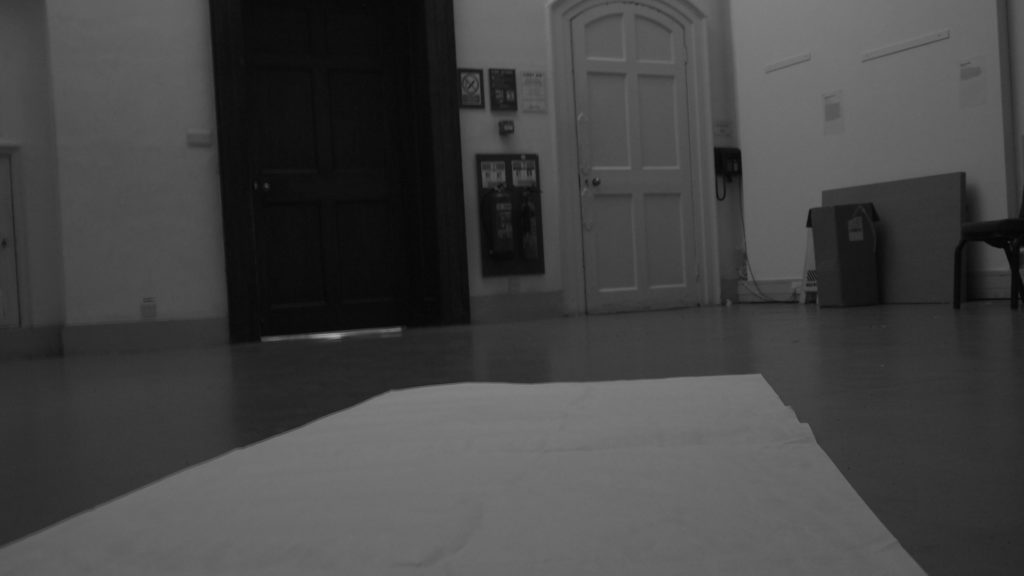
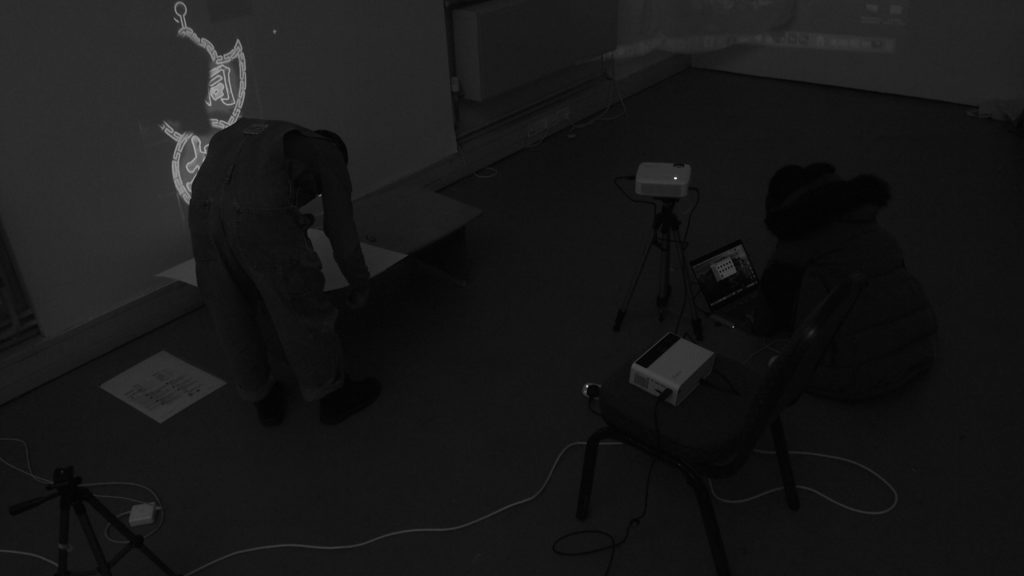
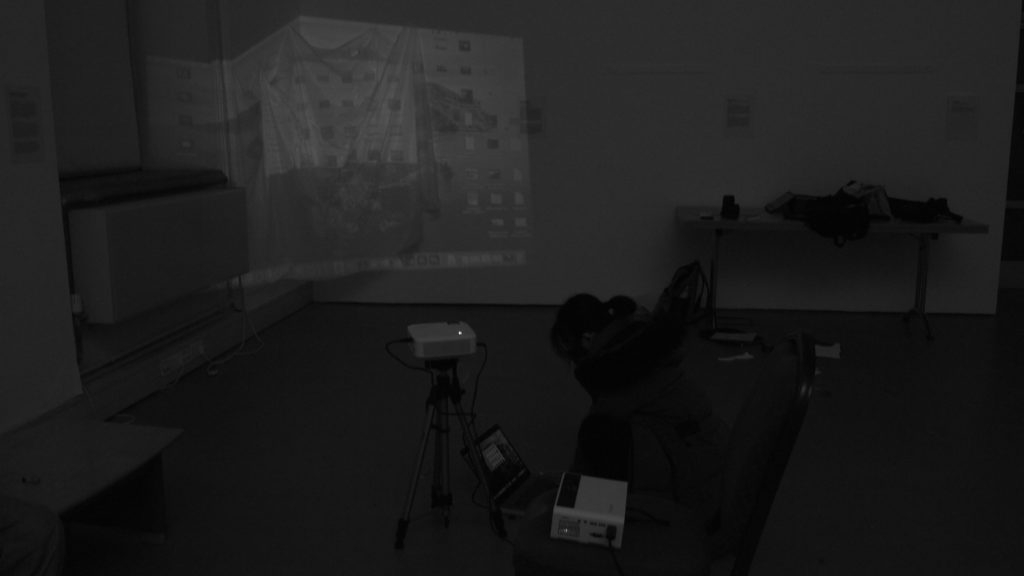
Some further images of process and progress of week 1 in the Heritage Gallery.

Further Editing of the video
I am looking to develop the video into more than texture exploration and so I started by thinking about my choice of layering of the analog and digital. It seems like I am subconsciously trying to match the texture of the film with the textures found within the Greenwich foot tunnel however I am not sure what that could be achieving and what what am I actually trying to achieve.
I seem to keep on coming back to this idea of panic and representing a state of panic. Takes me back to the text of the eclipse , the way Annie Dillard describes it almost attacking her ,thinking about roundness and how that shape might connect back to my choice of masking the video in this circular shape. I am also thinking about projecting on a ceiling, something more intimidating about watching the “panic” from above, almost as if it is watching and attacking the viewer.
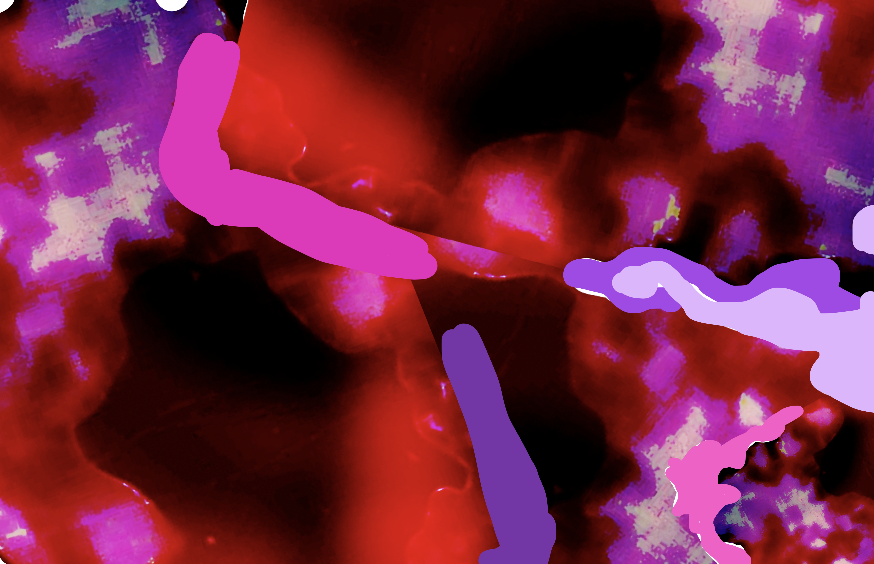
I also keep on coming back the colour red which has connotations of danger, death, anger but also passion, sexuality, joy. The colour alone can’t determine the exact meaning of the visuals because the video just seems to be lacking context.
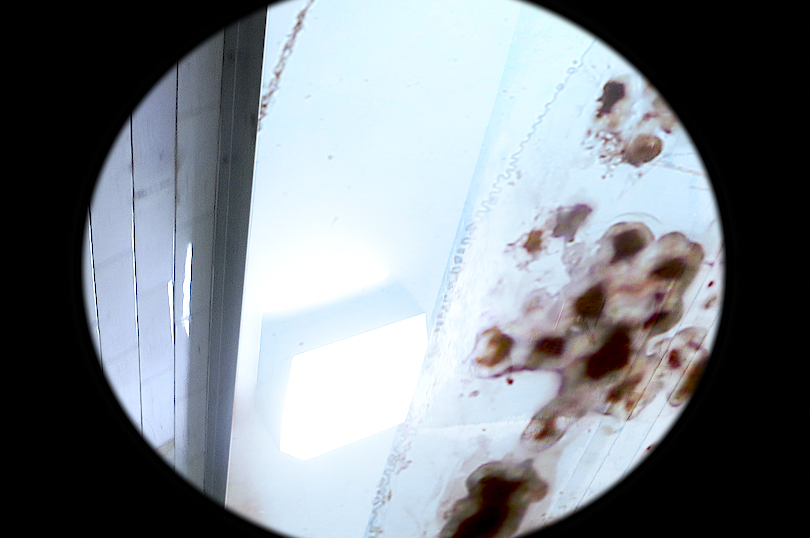
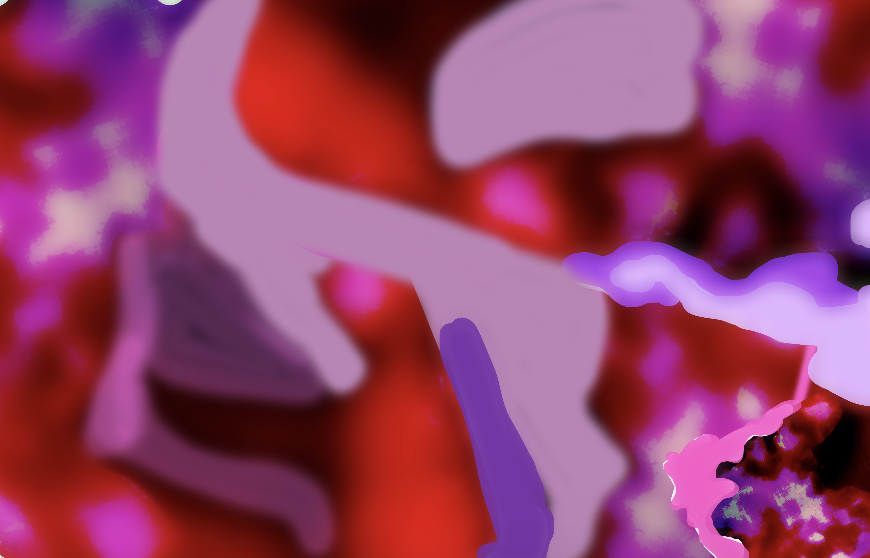
Yet this image just has a more pure and calming effect when observing it in comparison to…
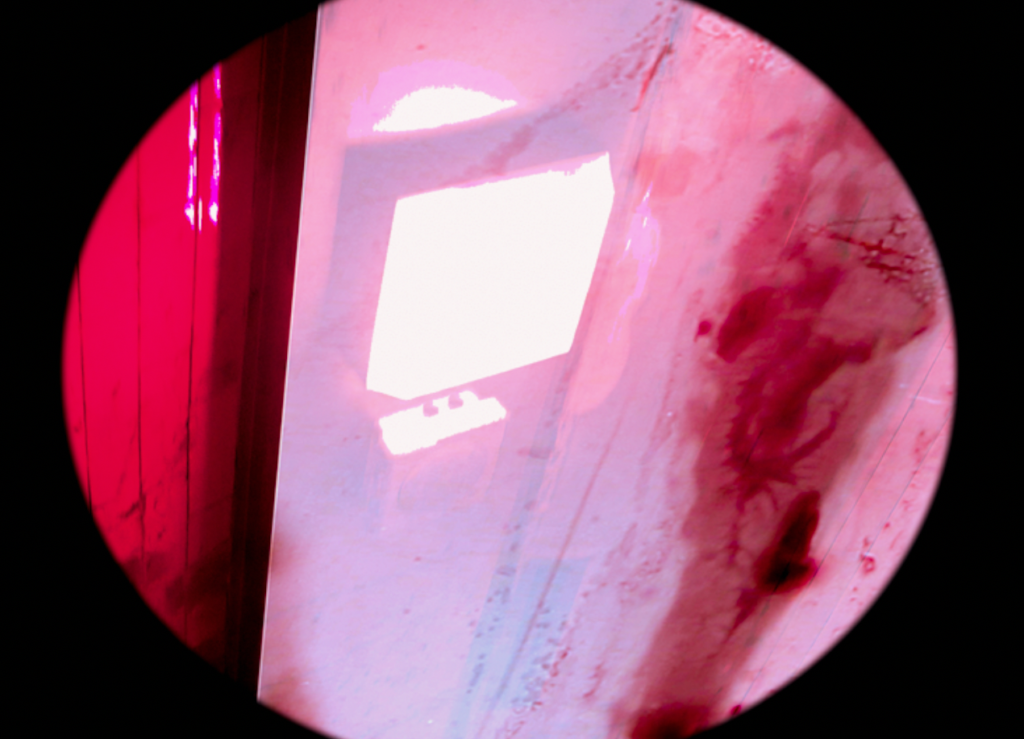
this one which is almost like a visual scream and the red almost transforms the the textures of the analog film into blood stains.
In order to develop the video further I had to seek some feedback and I have considered the following points when developing the drafts seen further down:
- Too much rapid movement
- If I want shots to tell a story, think about the digital footage maybe being slower to compensate for the fast frames of the analog.
- The red spirally shot is great the layers of digital and analog somehow overlap and link at the same time.
- Think about using a blur effect in order to dissociate the location of the tunnel, as I am not looking for it to be obvious where it is shot.
Draft.1
The first Draft was all about trying to get the footage together with the film and finding some sort of properties that link them which would contribute to the layering choices. It was also about playing with transitions and making the tunnel seem everlasting through them.
The below drafts are slow developments into Draft.5 which was presented in week 2 at the Sound & Image Festival. Some of them have almost unnoticeable developments, however there is definitely a big change in editing choice from draft1 to draft5.
Draft1 started with a lot of continuous transitions and moving within the space which was obviously presented to be a tunnel. A lot of intensity right from the beginning due to the nature of film which has been manually manipulated. The frames are not nearly as precise as on footage which would be shot and so that creates a lot of jittery movement, which might be veery useful in some cases, however in order to develop this state of panic I am trying to present, the best way to do it would be through suspense.
Comparing draft 1 and 5 gives a better understanding on the development of the video.
Draft 5 : Layering the white strip on top of looking at the ceiling of the tunnel both masks the reality of the location of the tunnel to some extend but the minimal amount of digital footage we can see reveals the movement and confined space and the layering of the white film strip on top creates an almost blurred/disrupted and distorted vision effect of the POV of the viewer and almost replicates what ones vision might be in a state of panic through textures which have been made physically on film bur inspired by texture in the actual tunnel which slightly leak through from the far back layer of the scene.The blurriness fluctuates through the adding and subtracting of film layers
Draft.5
For the second week of the Sound and image exhibition I showed this updated version which is totally transformed through the ellipse masking, which led me to the decision of not projection mapping it onto a cylinder like sculpture but directly projecting it into the gallery space. I tried the ceiling on a large scale, but the lighting and the quality of the projector properties I had didn’t allow for such scale. I originally wanted to project onto the ceiling because of the intimidation of having something above eye level, something that would clearly show its dominance.
I then decided to use a corner of the gallery instead which also distorted the image in a way which contributed to the concept which I started approaching which was of impact of anxiety, stress, lack of control and an internal scream. The fact that what I want to represent is all internal, not tactile actually fits this surreal and abstract properties that the shape of the gallery corner imposes on the projection.
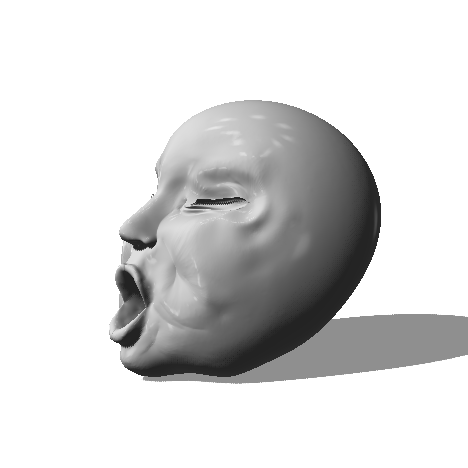
I had 2 days in the gallery so got to experiment a bit more in the space this week. I decided that just the projection is not enough and the next step in development could be to bring in a silhouette of a screaming face and use the video as more of a background thought about Edvard Munches, The Scream and what it represents. Also the music video of the wall Pink Floyd came to mind, the wall closing in on the person, isolation created for the animated character.
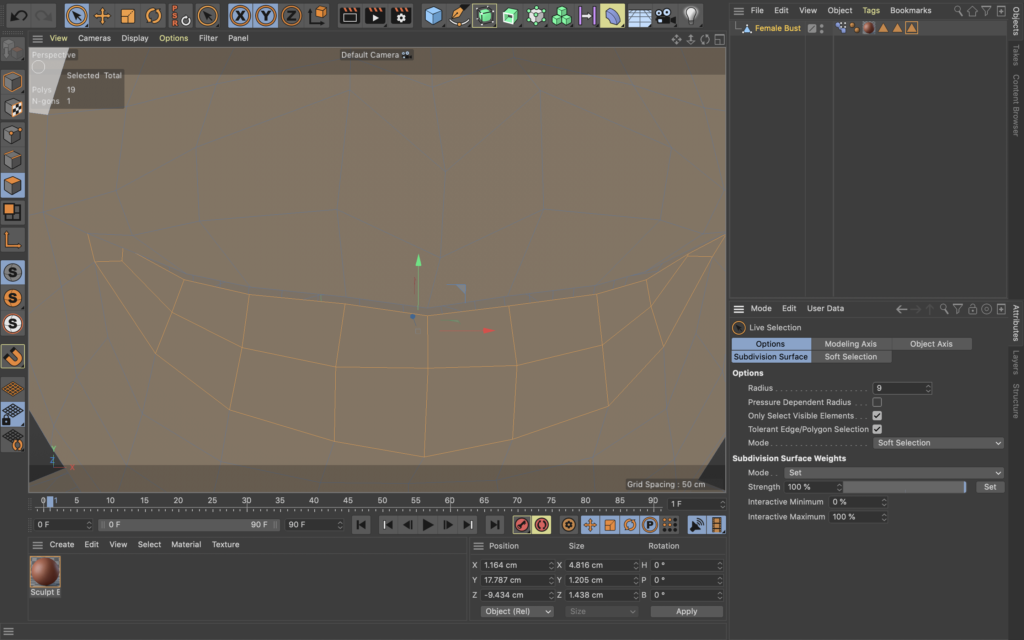
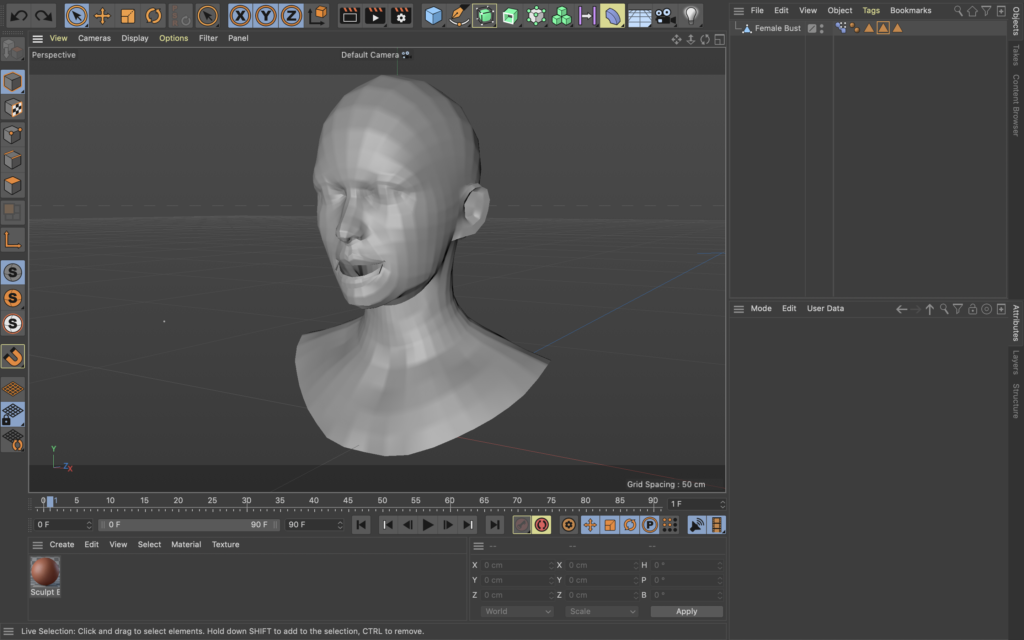
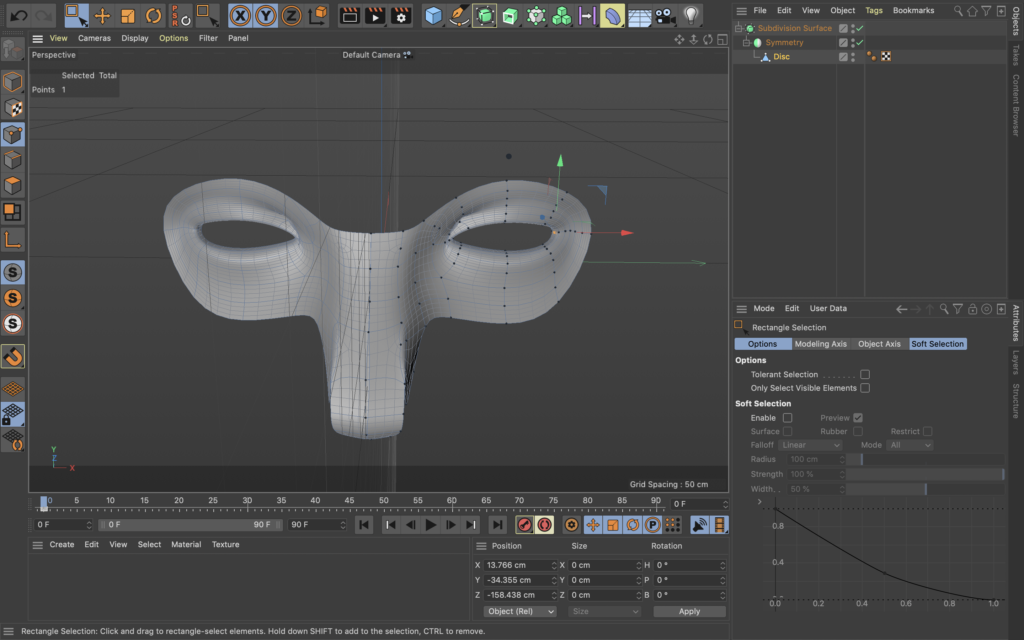
This quick brainstorming led me to decide that I will do and animated face screaming and so I tried sculpting a character to see how it would look and I used the one seen below.
This quick brainstorming led me to decide that I will do and animated face screaming and so I tried sculpting a character to see how it would look and I used the one seen below.
Adding the 3D Model on top of video:
This video has narration which takes you through the base of the idea for this experiment and the positives and negatives of the outcome. I also would like to note that I used MadMapper to projection map 2 layers on top of each other as a small experimentation for the second week of the Sound and Image Festival
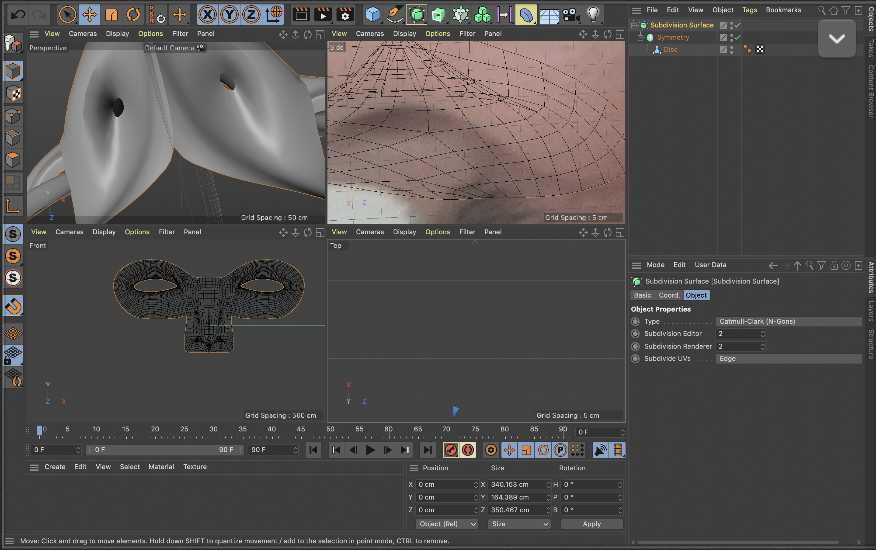
I continued with more playing around with sculpting and actually animating that scream I have previously referred to, using Cinema 4D.
Every step of this animation was essentially a lot of trial and error. I originally tried using a plug in within after effects which was promoted as free, however after many trials I figured out I need a lisence to use it. I then just decided to go into Cinema 4D and tried animating the character with what is called a morph method which didn’t work at first but after a few attempts I got some sort of animation out of it.
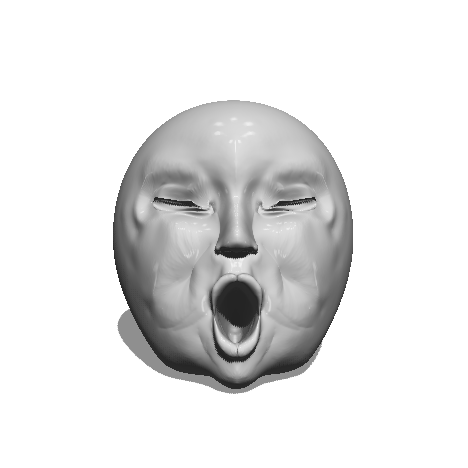
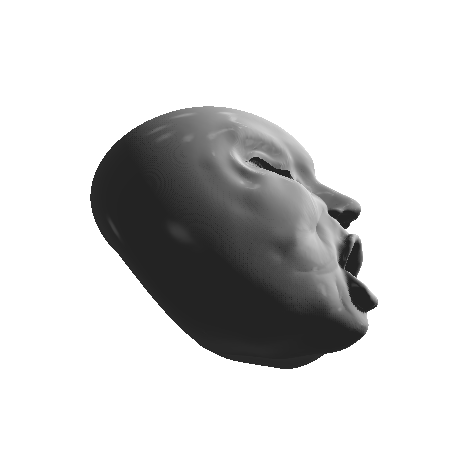
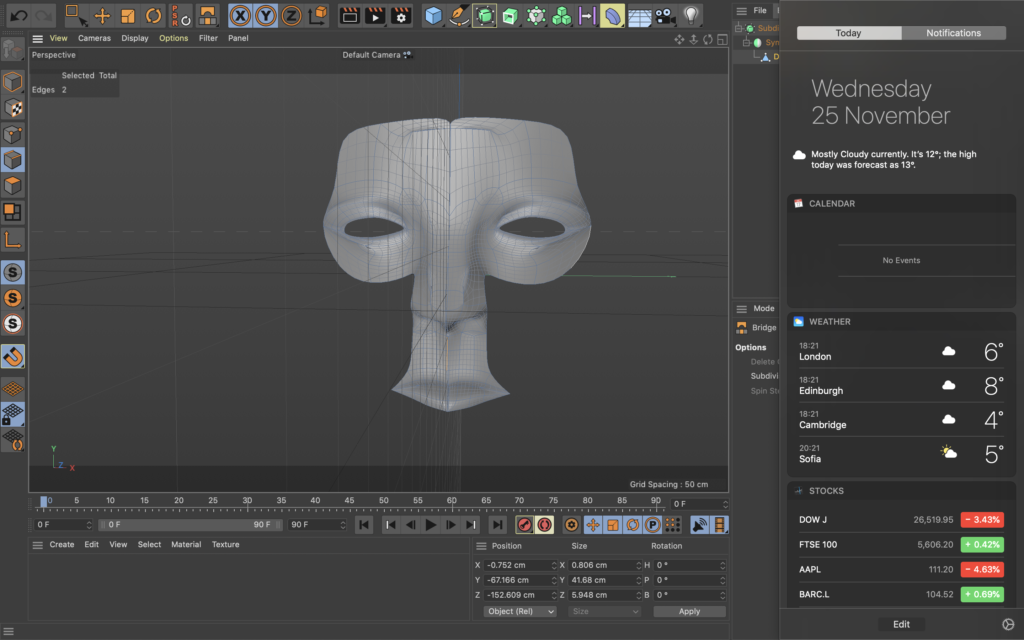
Working on the scream by ensuring the gap in the mouth is appropriate for the amounts of movement.
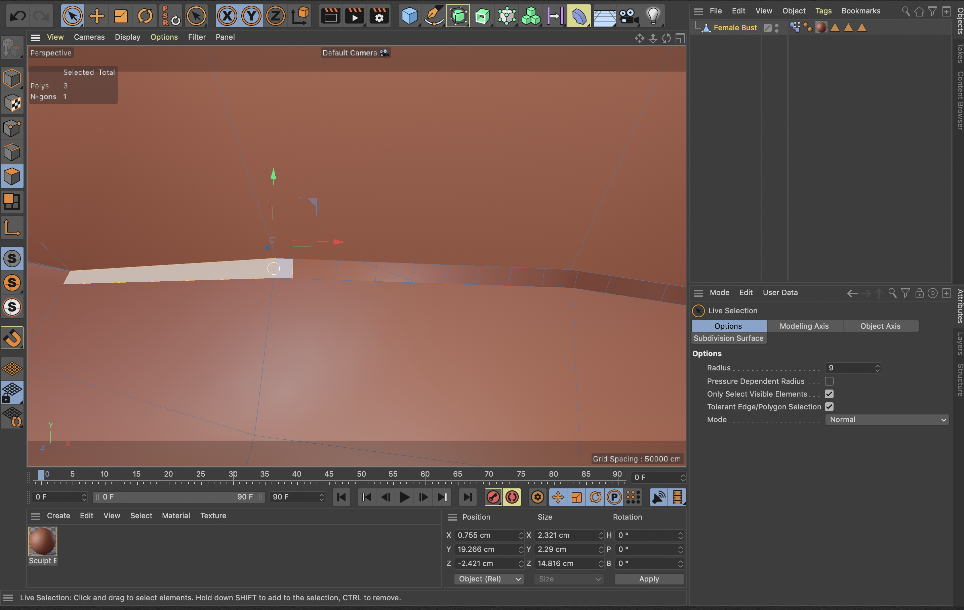
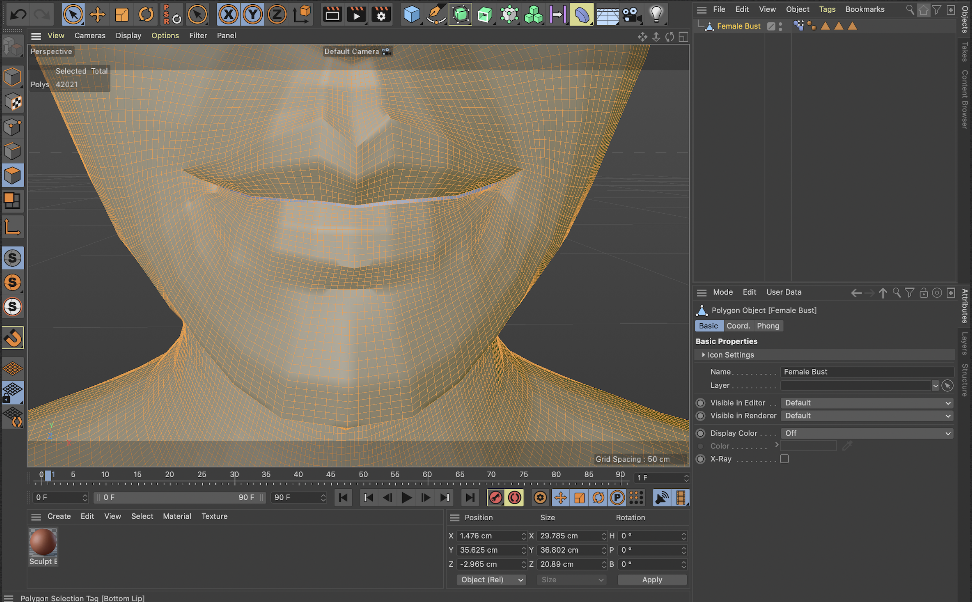
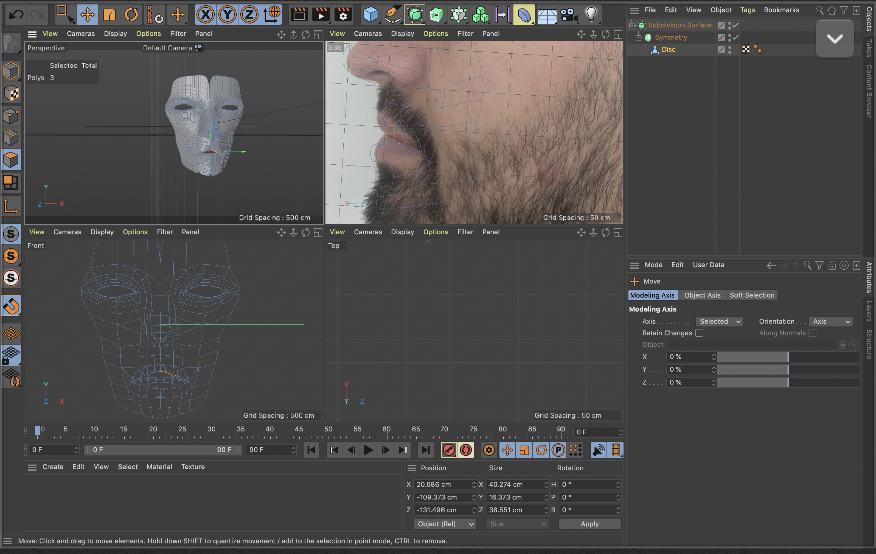
These are some screenshots in the process of using a knife line tool to cut a very precise line between the lips which would allow me to move them around better in order to create the screaming animation.

Here we can see a big zoom onto the lips which shows the thing line which has now been cut and is separating them on some level.
At the time of making this animation I thought an alien texture would make sense, because as much as I am introducing the reality of a person with this face, I am simultaneously aiming to detach the physicality of a person and really concentrate on mind. I though that bringing in this alien texture into it might create this detachment of physicality, maybe it hasn’t.
Developing piece for third week
I felt stuck so I decided to have a look at some artists and see what direction I can push the development of the piece in.
One artist which stood out was Fred Gavaghan.
Kevin Gavaghan

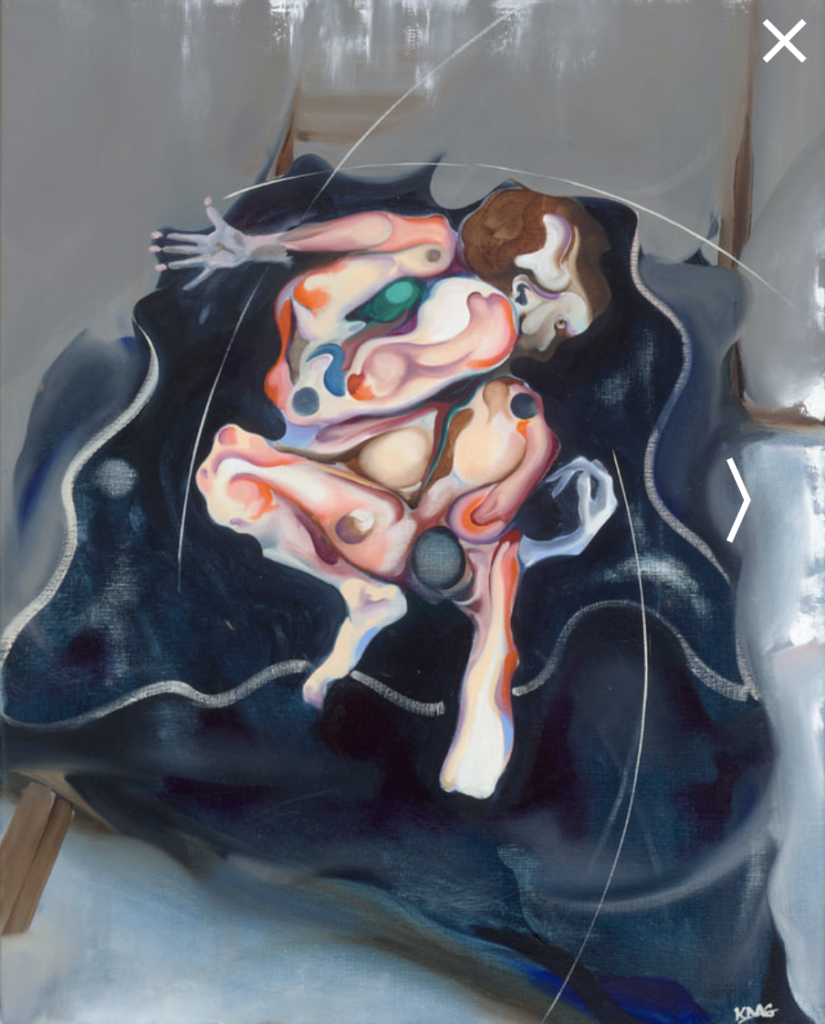
- Untitled
- ‘Two Suns (Self Portrait in Yellow)’ Oil on Stretched canvas. 40 x 50cm
He is a contemporary artists based in the UK. His work often represents his thoughts, dreams and emotions which he experiences in his perspective of what life is.
He lives his life with tourettes and anxiety related illnesses.
He creates abstract and surrealist paintings which show challenges people face but tend to hide from their public persona. From religion, politics, relationships to loss of loved ones and more.
I was drawn to these two works particularly because they are somewhat the least surreal of his works. They have still kept at least half the shape of what a face or a body is and so are still attached to reality but are equally distorted.
More of his works can be found on his website .
Holly Sabine – Precious Life
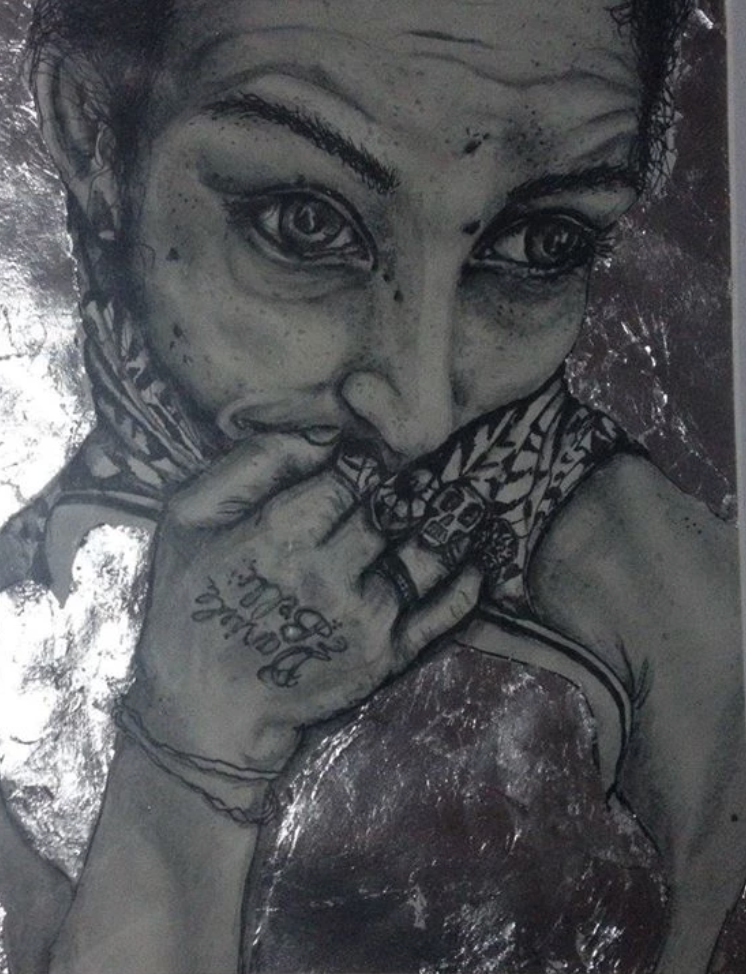
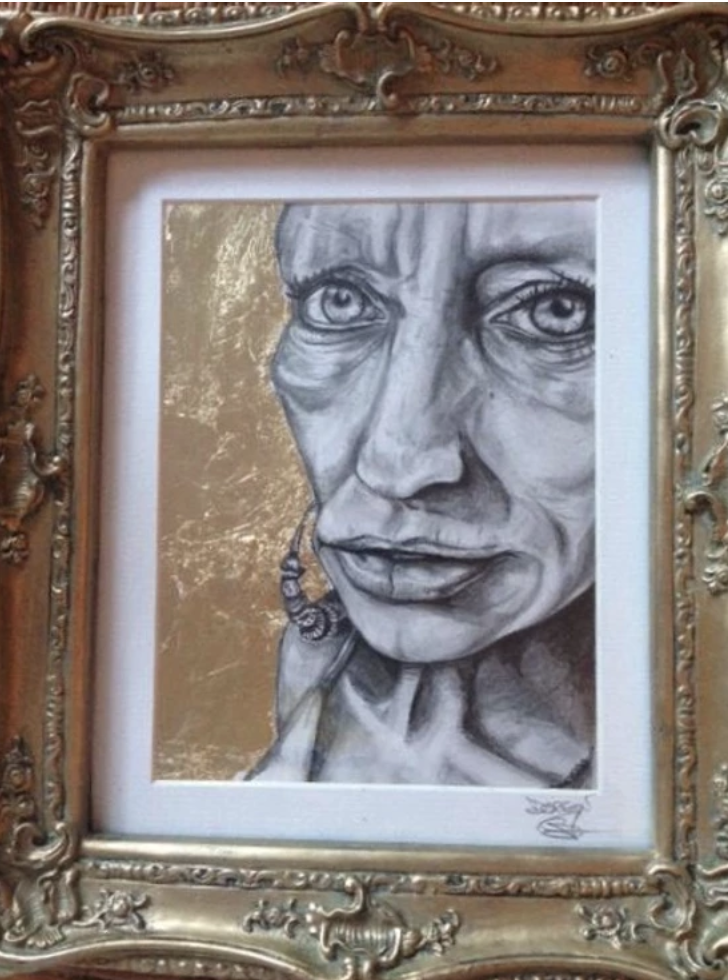
- Doreen
- Genevine
Holly Sabines work initially got my attention because of the unusual combination of colour and material she uses.
She draws people in monochrome with a pencil/graphite and then adds on this silver or gold leaf which just seemed very odd and out of place, but also like it inevitably worked very well.
I had a further look into her series of portraits Precious Life and I started getting this sense that she is trying to possibly portray something rather sad in a more beautiful light, possibly detach some sort of negative connotation to these women in the portraits or women in general. Their faces have a variety of facial expressions and so I could not draw much information in that aspect, but another connection I found was that all of them seemed rather bony and with dark circles under eyes etc, overall tired and malnorished.
It turns out that these portraits are of homeless woman, whom mostly reside on Skid Row in L.A. and she is indeed trying to “humanise” them.
“Complex stories and faces, riddled with drug abuse and mental illness, personal traumas ,but nonetheless beautiful in their own way.At times glowing, at times saddened, but always precious.”
More about Holly Sabines work can be found on her website.
Laury Guintrand – PERSONNAL PROJECT “Ornemal ”

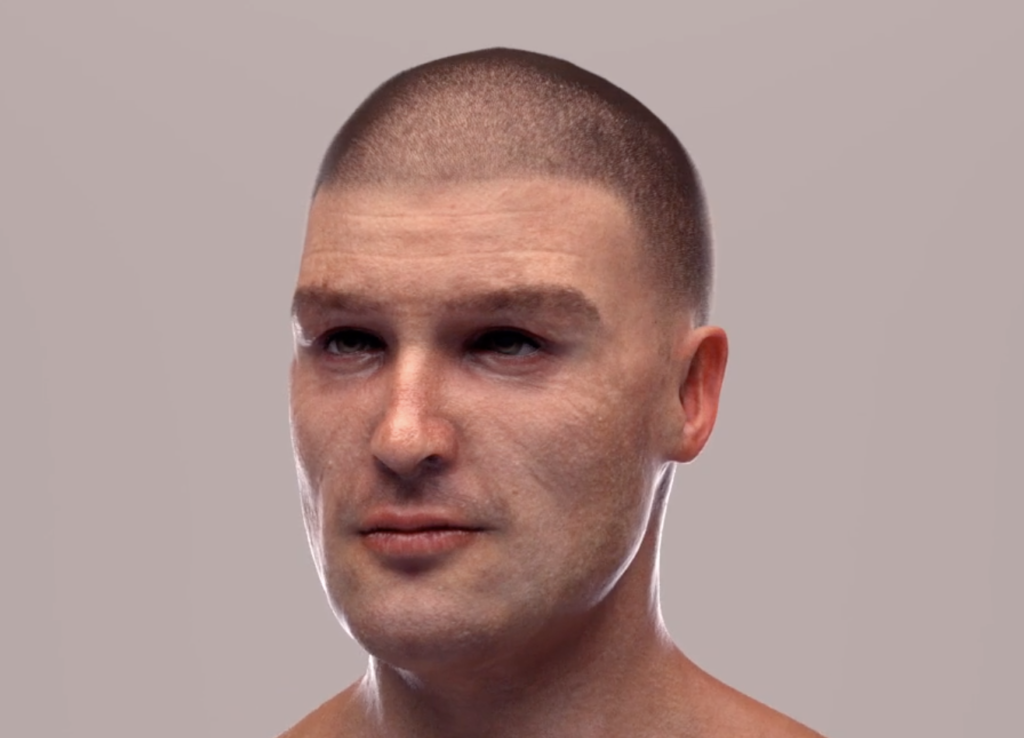
Laury Guintrand is a 3D models and animation artist and these particular examples of her work caught my attention because of 2 main factors – texture of stone and hyperrealism of the modelled male face.
Earlier on in my project I was very intrigued by texture and I wondered if I could reintroduce it in the animation of the face I am creating. I would love to be able to create a hyperrealistic visual such as the one on the right because it will contribute to the idea of detachment of mind from body and question the reality of the animation which could in turn communicate one large aspect of panic called dissociation. Dissociation can affect ones sense of self and also perception of time and something hyperreal or rather unreal could communicate these properties.
Nevertheless the stone texture simply seems as something that I can create with the access to materials and time I have and it could bring connotations of its own such as that of a sculpture animation rather than trying to make it look realistic as the aim is to stray away from realism.
To see Laury Guintrand’s full reel please visit her website.
Animation of Panic for W3 of Sound and Image Festival
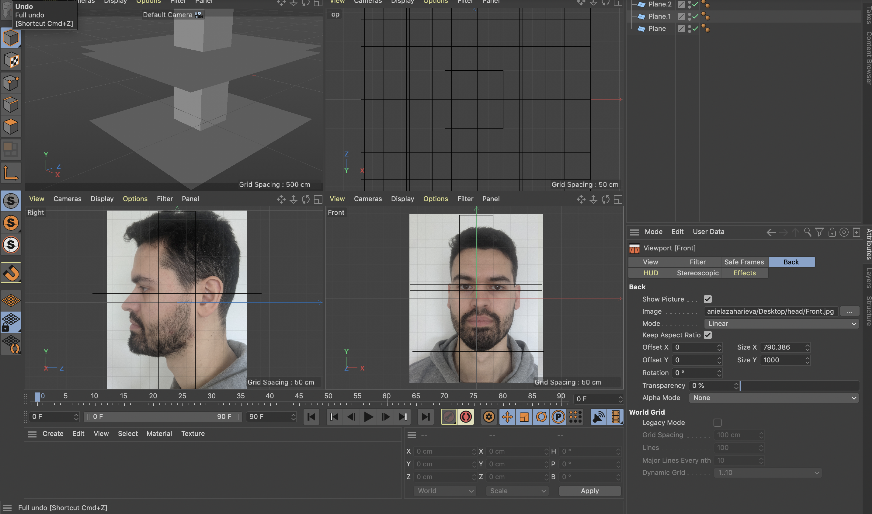
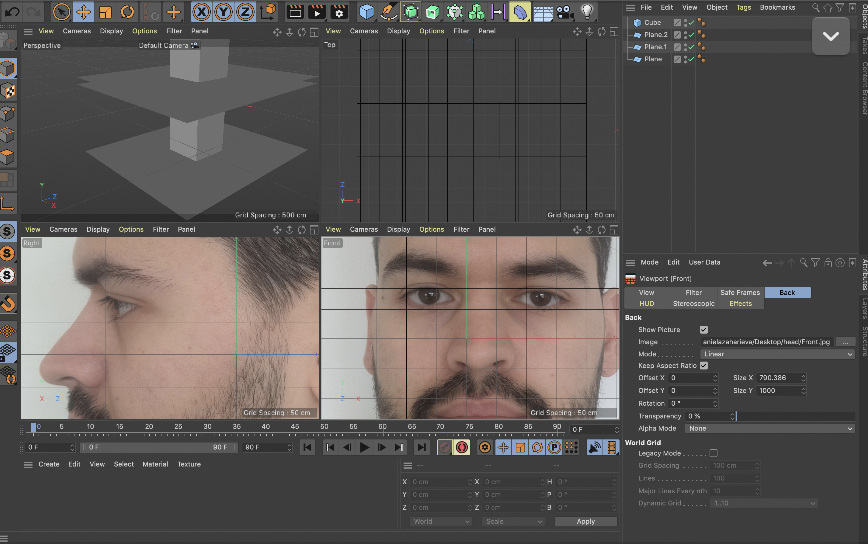
Last time I tried animating the face screaming it didn’t actually work all that well, so I decided to start from scratch and look up some tutorials on how to create a head model and how to animate it.
I initially found a tutorial which required using CrazyTalk8 which seemed rather easy but it turned out that the free version of it does not do as much as they lead you on to believe.
I also had a look at possibly using After Effects to animate the head after it had already been built and I found a plug in by Video Copilot called Element 3D, which seemed to do wonders, however it was rather expensive to purchase and so even though I did not want to focus my attention on Cinema 4D it seemed like it was the only reliable and free option.
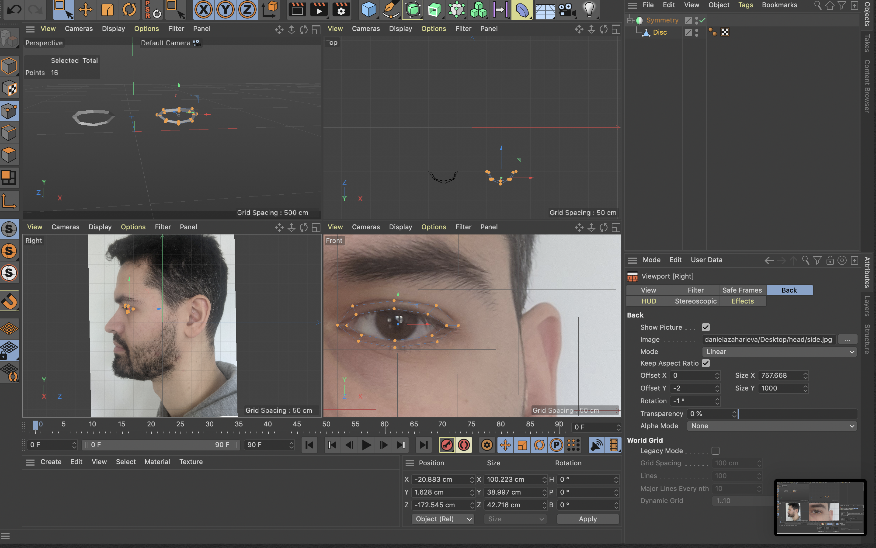
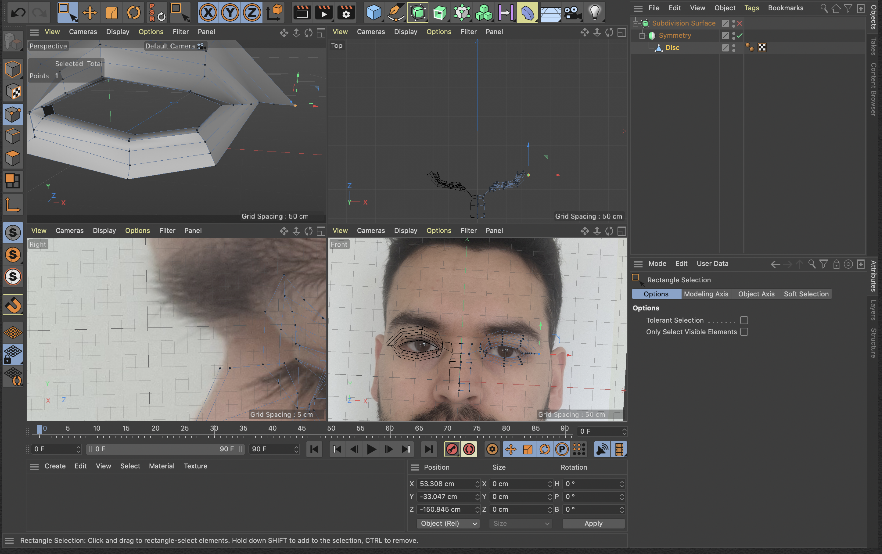
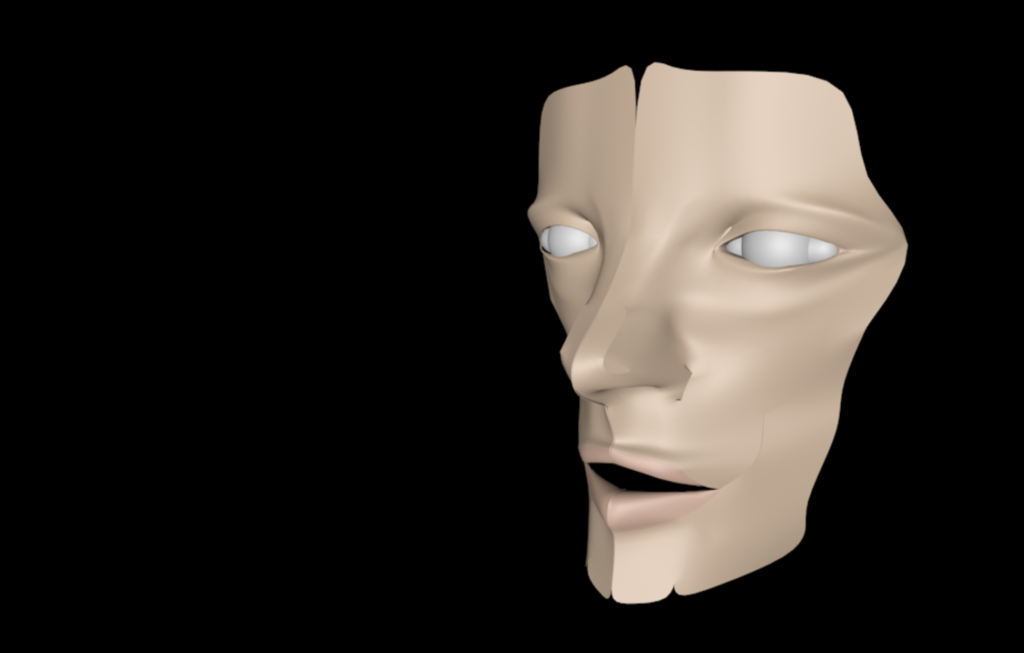
And so I went on to building a 3D model of a face by referring to this tutorial by 3D Passion creator on Youtube.
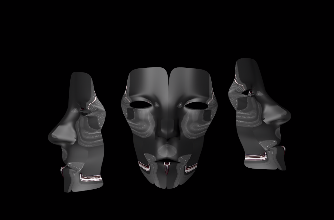
The stages of the development of BUILDING the 3D face model can be seen in the gallery below.
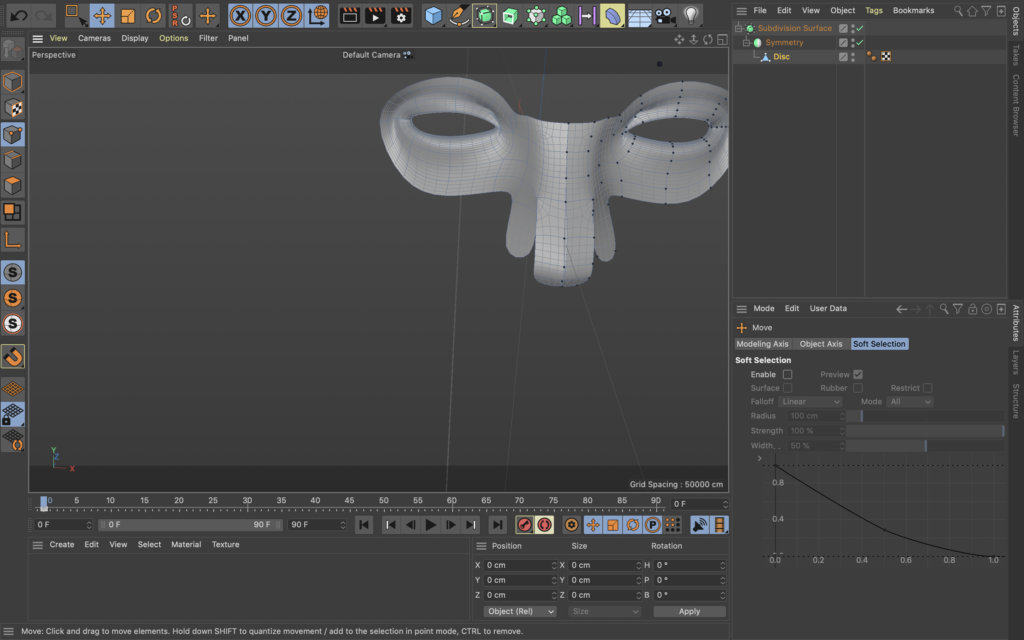
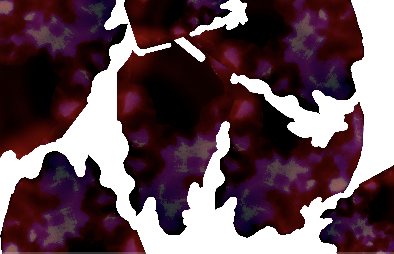
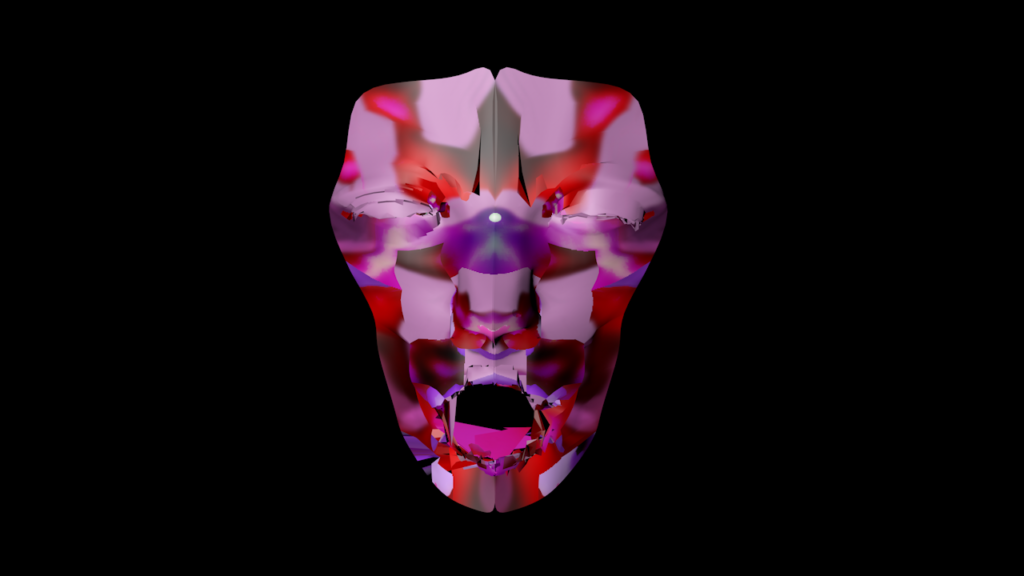
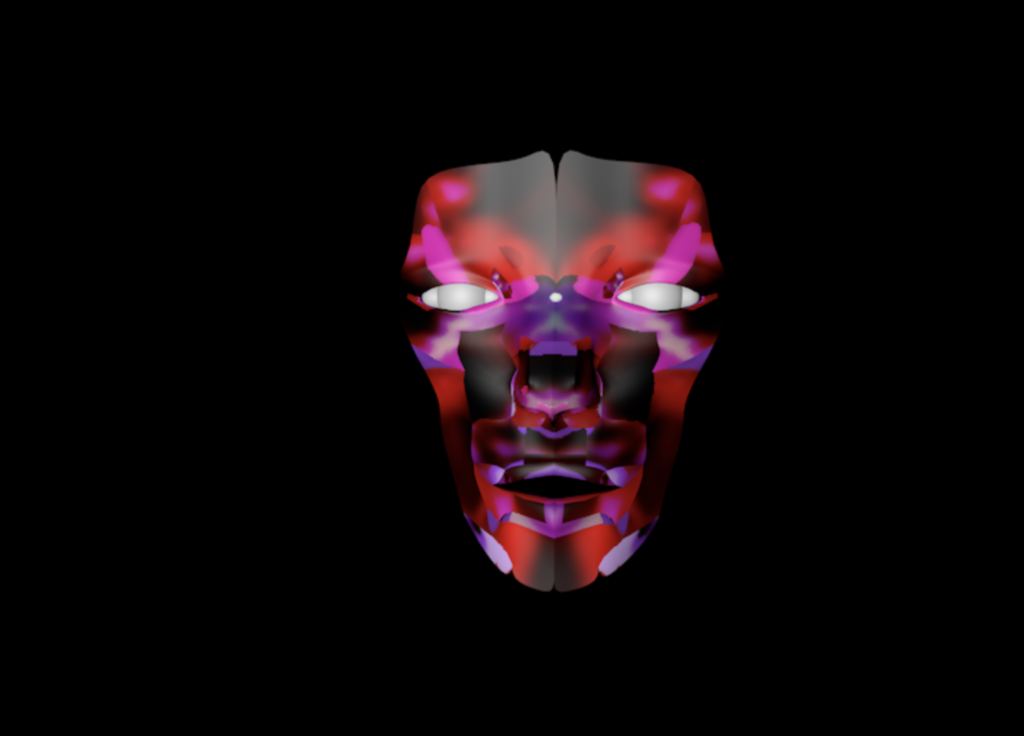
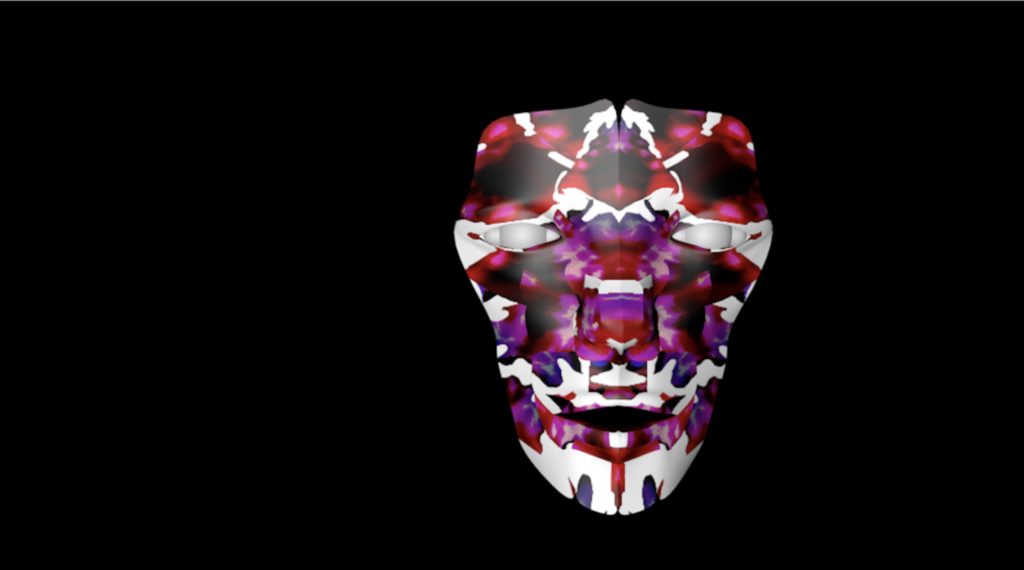
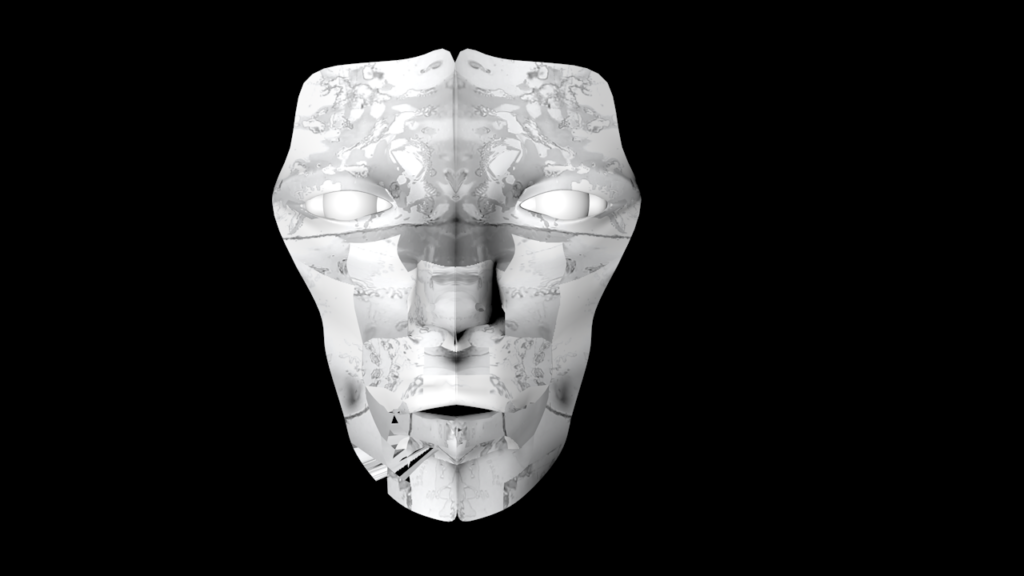
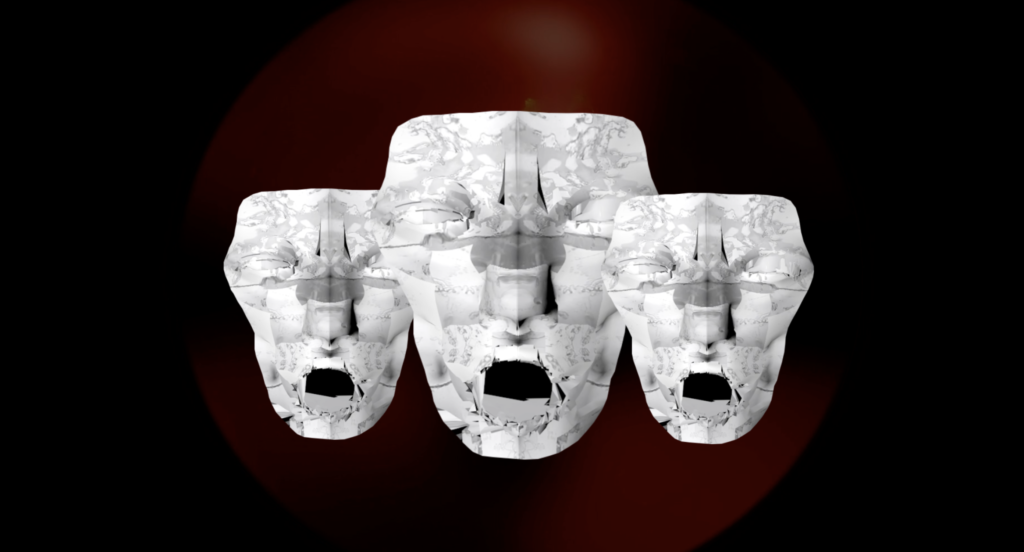
TEXTURES
In this gallery the development of textures for the mask like face can be seen. Starting with a pale, ghost like face and into a variety of abstract patterns, in reference to Laury Guintrand’s work.


ANIMATING 3D MODEL & AFTER EFFECTS LAYERING
I animated the character within cinema 4D following this tutorial using the pose morph tag method.
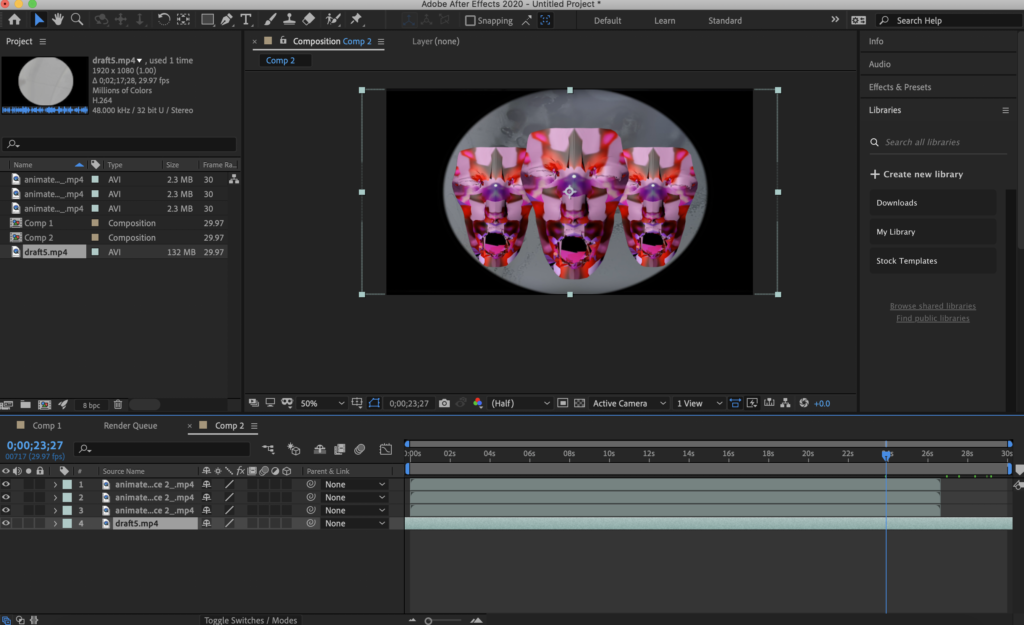
I then went on to exporting this animation and adding it into After Effects with the ellipse shaped tunnel blurred background.
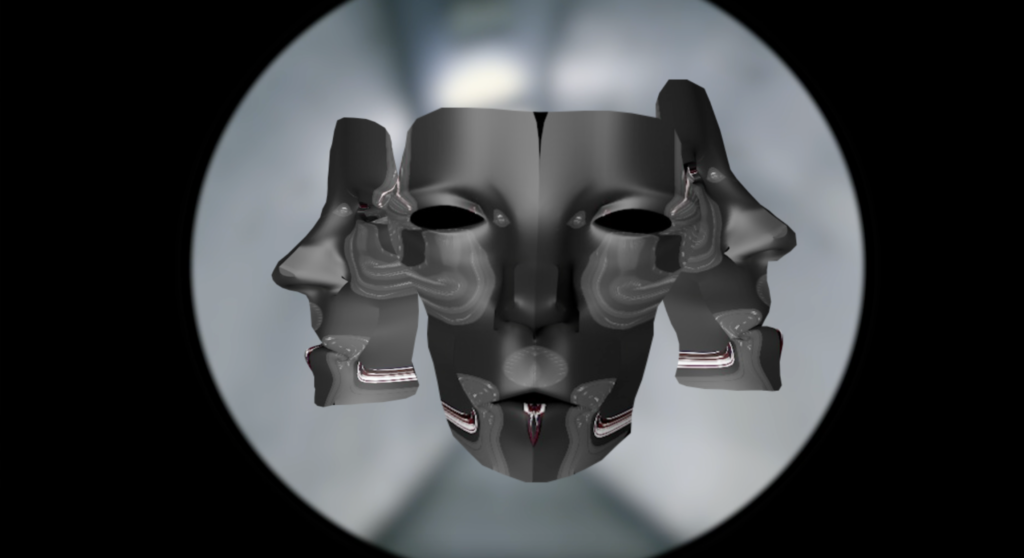
The background was also used as a POV perspective of someone going through a panic state where they cannot visualise their surroundings properly.
FINAL VIDEO AND INSTALLATION IN THE HERITAGE GALLERY
The piece as installed and seen in the gallery.
The online version of the piece, the video itself uploaded onto Youtube.
BTS footage of everyone
Some more experimentation with focus and size of projection
Whilst installing the piece for the 3rd Week of the Sound & Image Festival I had some ideas about further development.
I thought I can create a double projection through the use of a transparent barrier. One projection being small in size and with a clear image whilst the other being more distant, became larger but also hazy.